Blog
-
Summer vacation work
Self-Filmed Footage
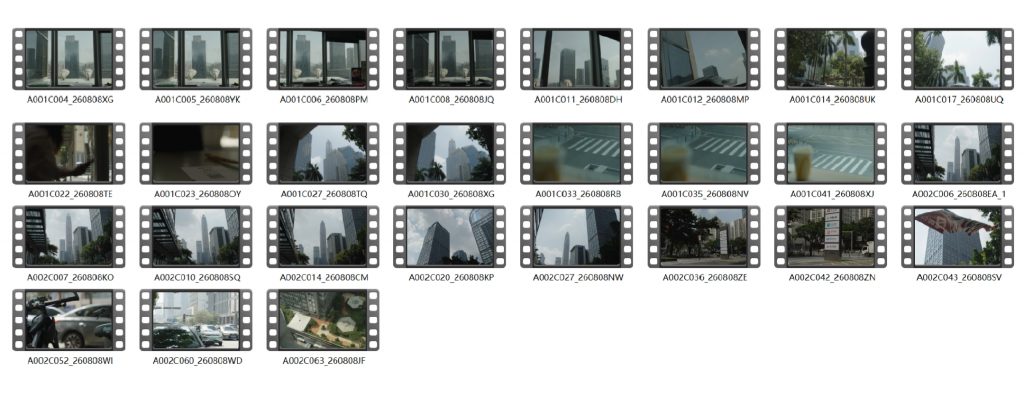
I rented a Sony camera and filmed several sets of shots that I needed around the city. These included high-angle shots, low-angle shots, close-ups, eye-level shots, and other types of footage. Some shots were filmed from the top of tall buildings overlooking the streets, while others were filmed outdoors at street level.
Log Footage — LUT Conversion
The footage recorded with the camera was shot in Log format and needed to be converted using a LUT to restore the intended colors. Therefore, I imported the video files into Premiere Pro (PR) and applied the LUT.
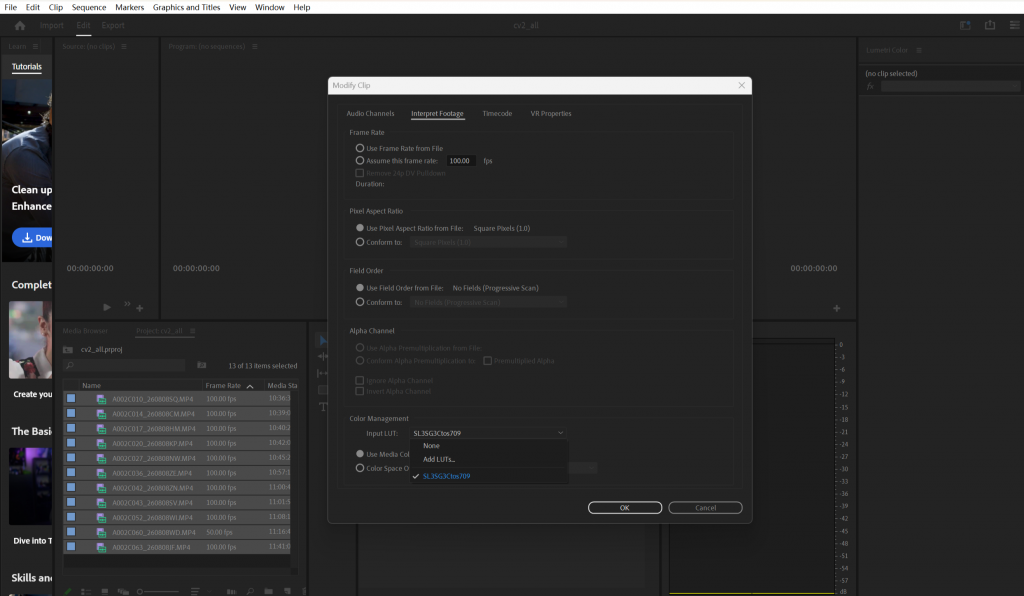
My Camera Footage Showcase_Selected
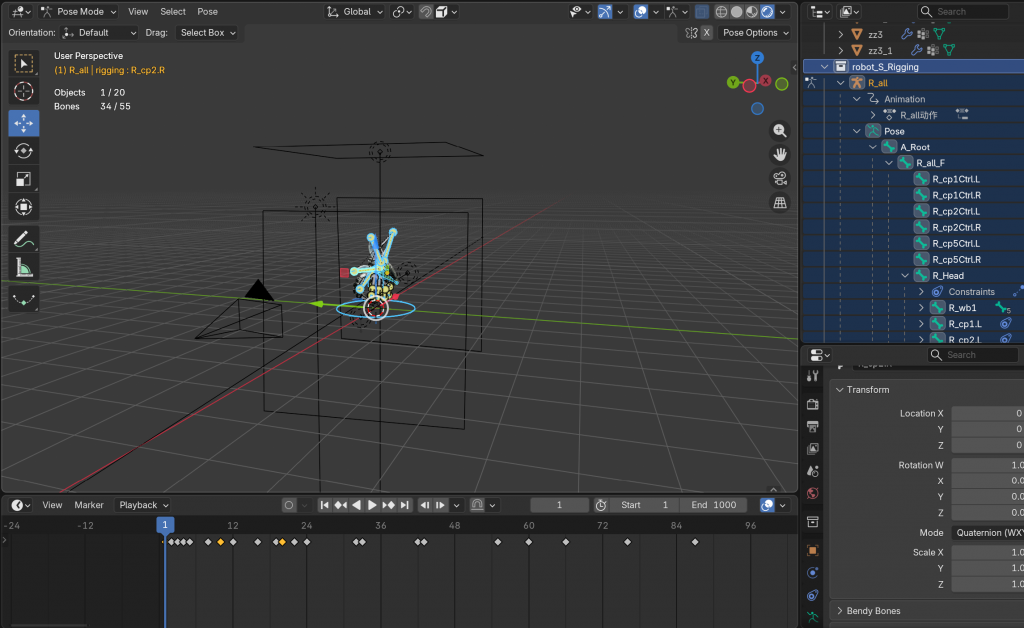
Blender Animation and Rendering Test
Based on the footage I shot myself, I animated my 3D model in Blender by creating keyframes and setting up the lighting to match the scene. I then rendered the animated sequence in Blender, ensuring that the model’s movement, lighting, and overall visual presentation were consistent with the original footage.
Nuke Compositing Test
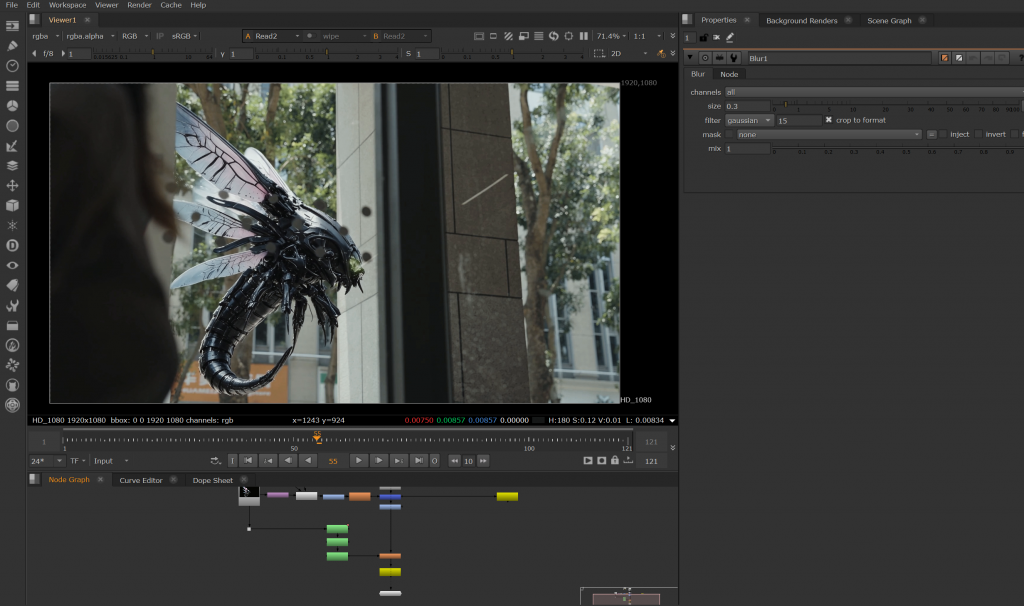
In Nuke, I experimented with using Roto nodes, along with various color grading and tracking nodes, to integrate the rendered mechanical insects into the live-action footage. I adjusted the elements carefully to match the movement, lighting, and overall visual characteristics of the original footage, creating a more natural and seamless composite.
Editing and Sound Design
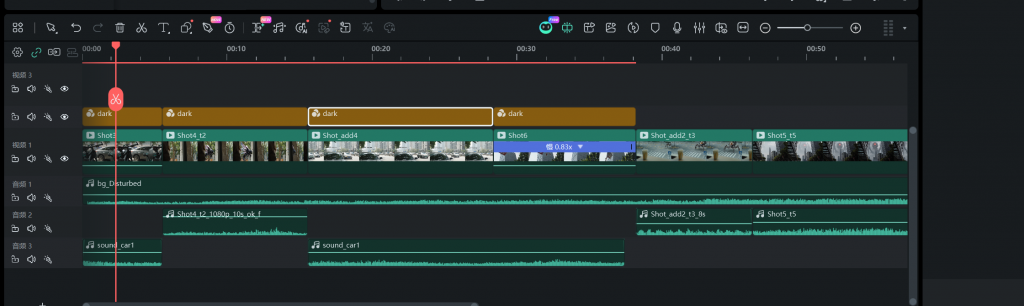
I edited the completed shots together to create the final video sequence. I also searched online for free background music and sound effects that matched the overall style and atmosphere of the video. I selected and incorporated suitable audio elements to enhance the mood, pacing, and overall audiovisual experience.
-
Week10
White Mechanical Creature
Original Image
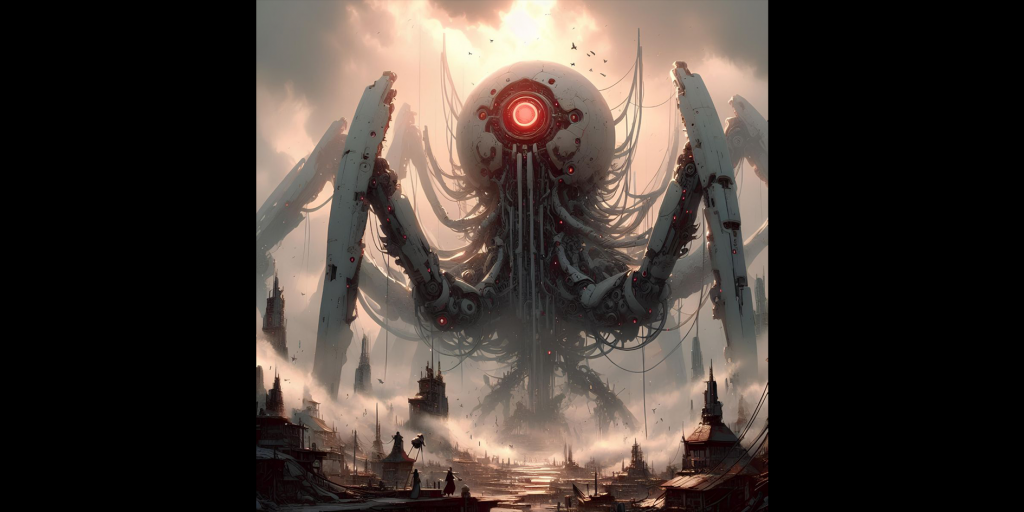
Website Link: https://uk.pinterest.com/pin/719450109260457196/
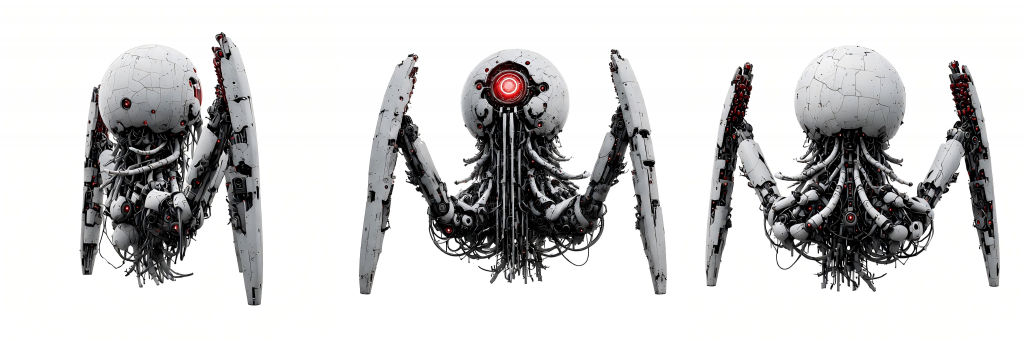
AI_2D Three-View Generation
Rodin AI_3D Model Generation
I uploaded the AI-generated three-view drawings to Rodin as references and selected a generated result that matched my expectations.
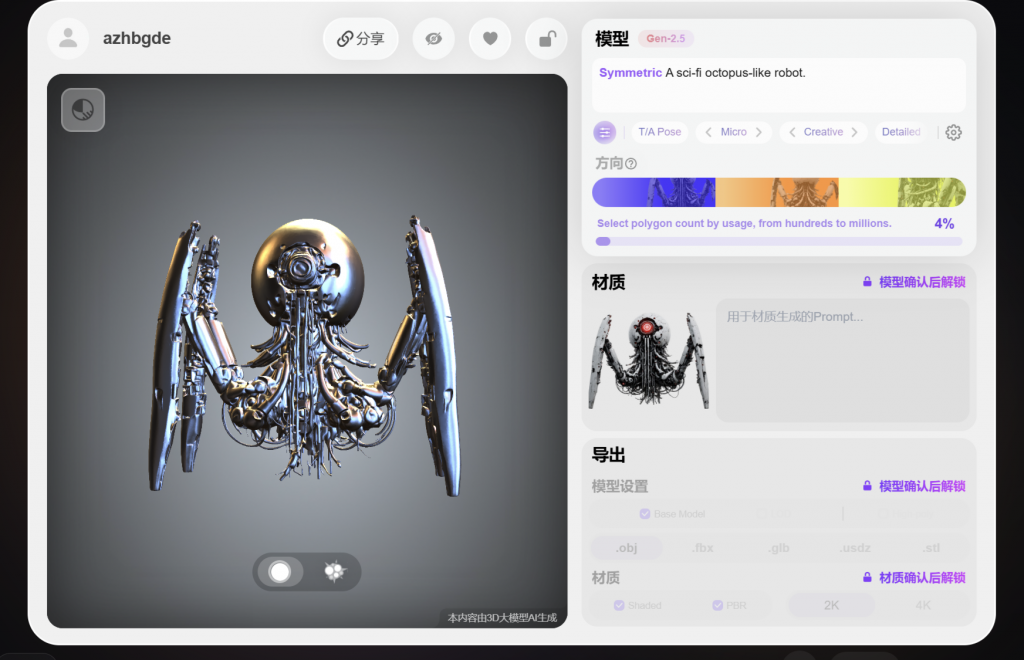
After confirming the model, I separated it into individual components.
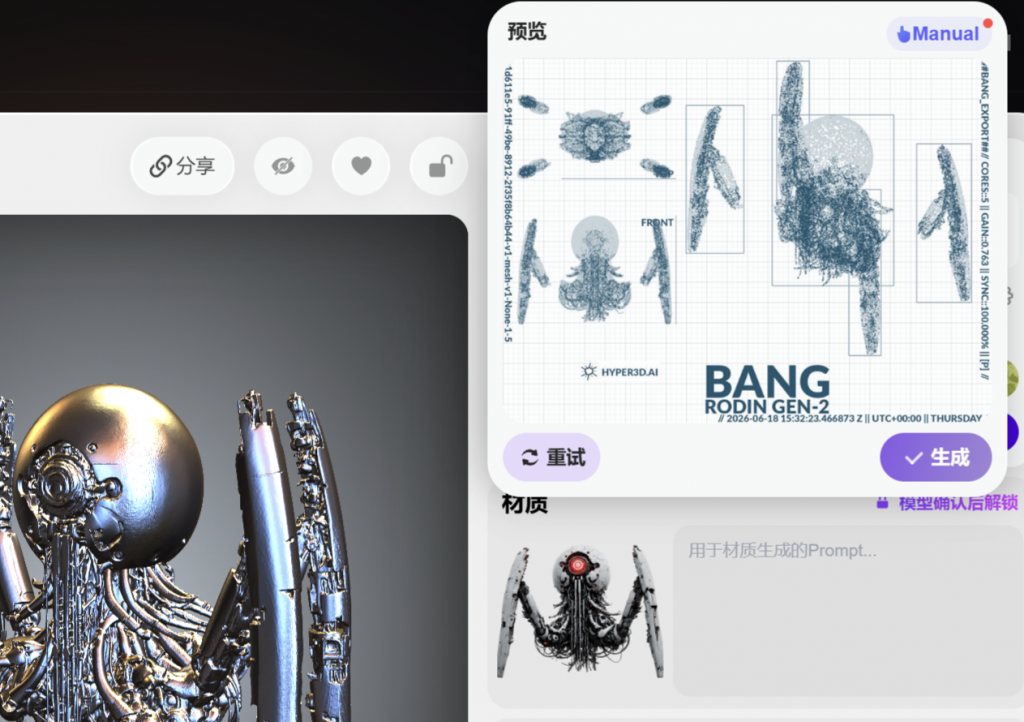
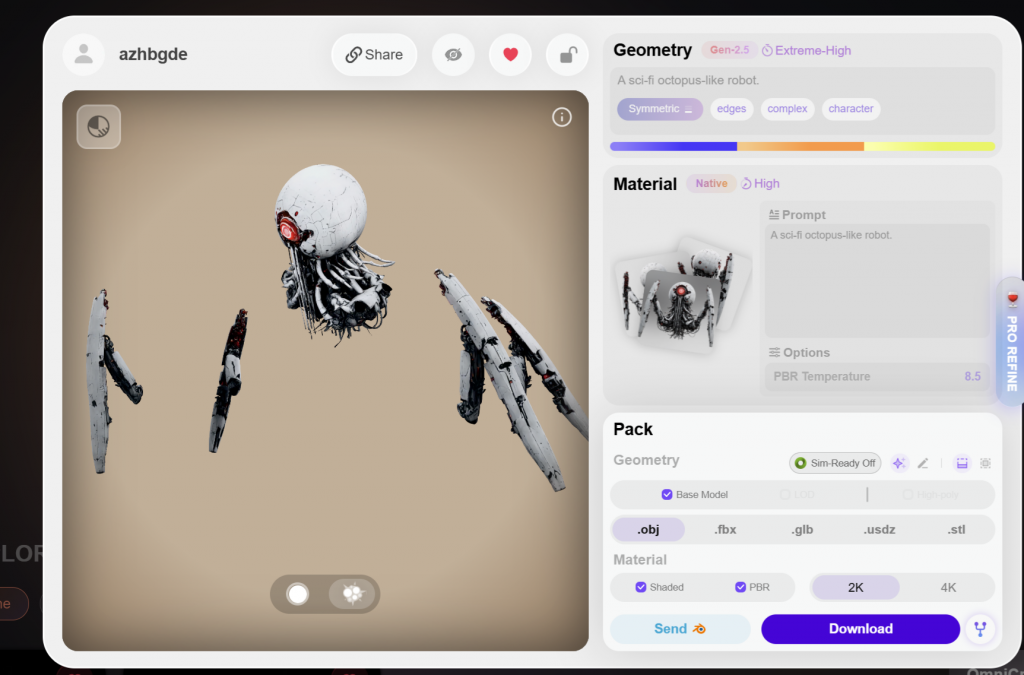
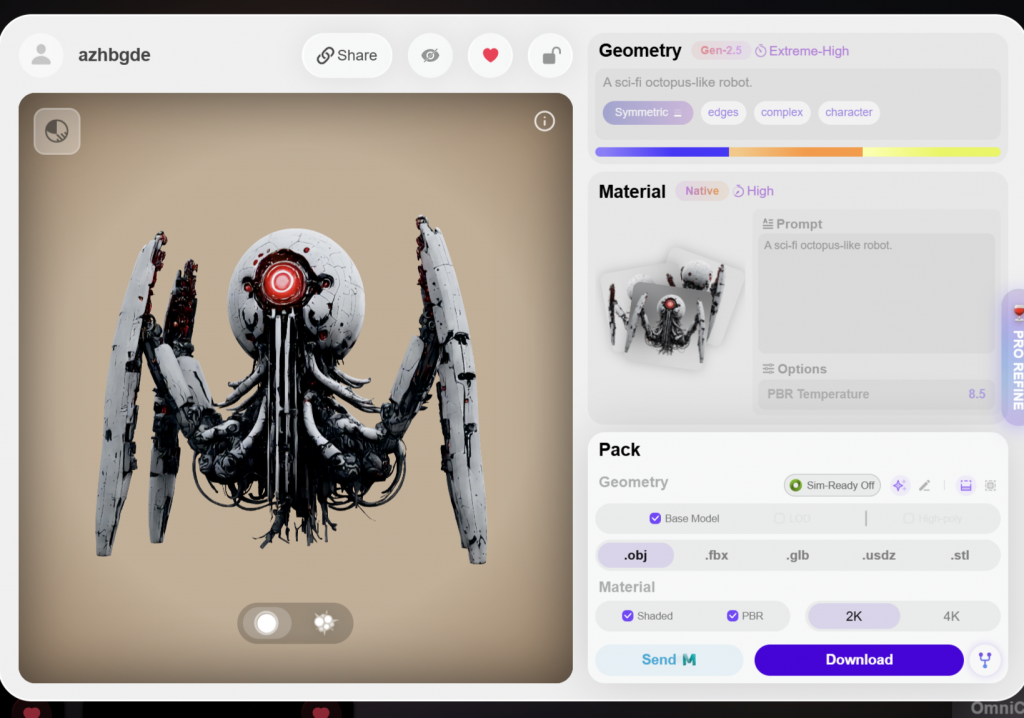
Finally, Rodin generated the materials/textures, which I downloaded.
White Mechanical Creature – Rigging
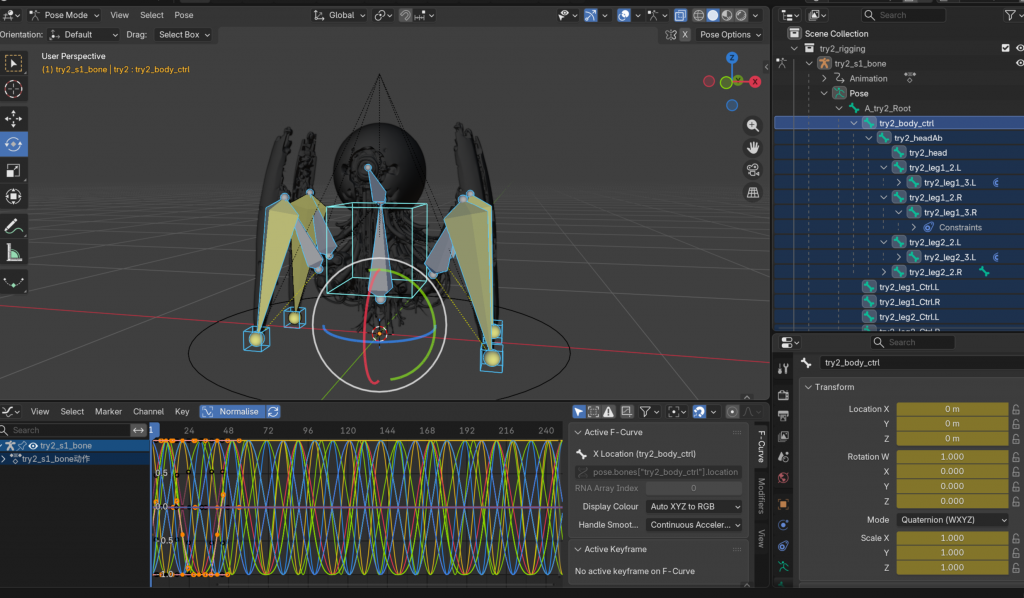
Based on the techniques I had learned previously, I set the body as the parent of the legs. This way, when the body moves, the legs move along with it.
After completing the skeleton setup, I bound the corresponding model to the rig. The result is shown below:
White Mechanical Creature – Idle Animation Production
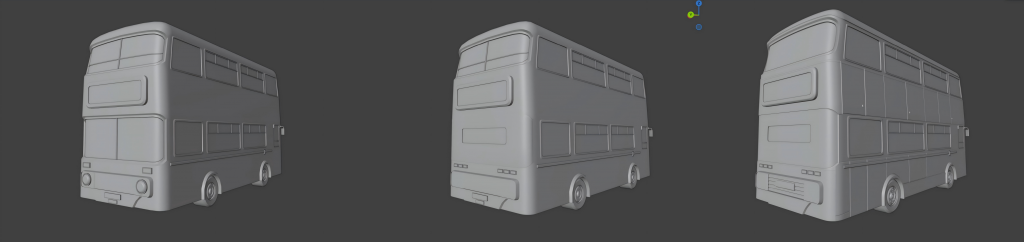
Model and Material Adjustments
There were some mirroring issues on the back side of the bus model, so the structure needed to be rebuilt. Therefore, I recreated the low-poly bus model and then reworked the edge flow on the new high-poly model.
After completing the new model, I moved into Substance 3D Painter to create the new materials.
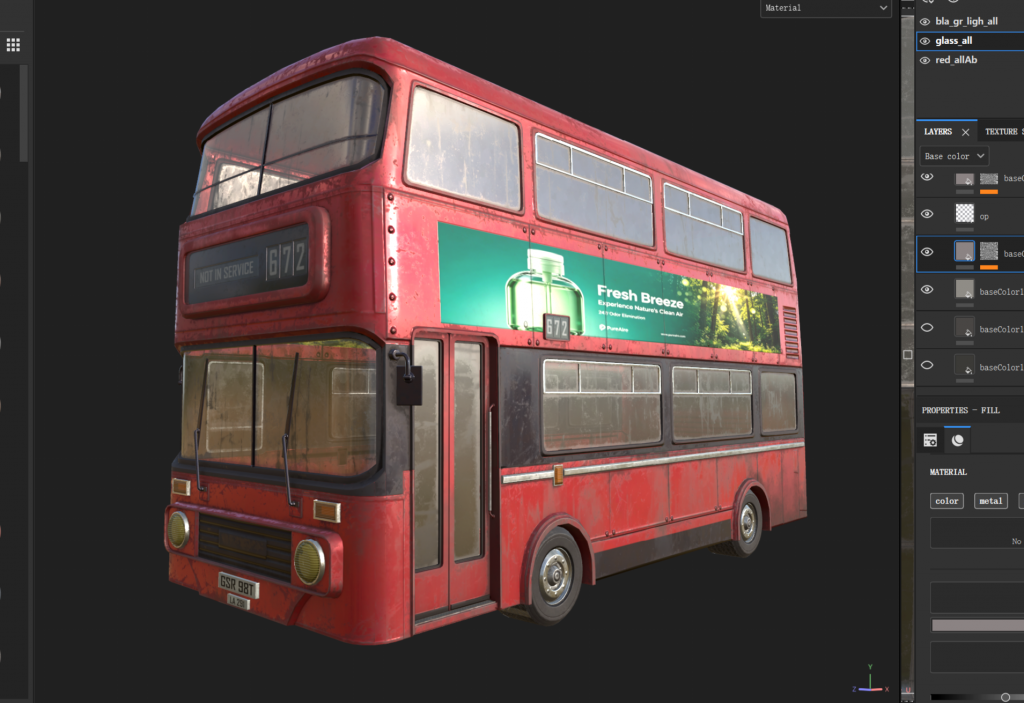
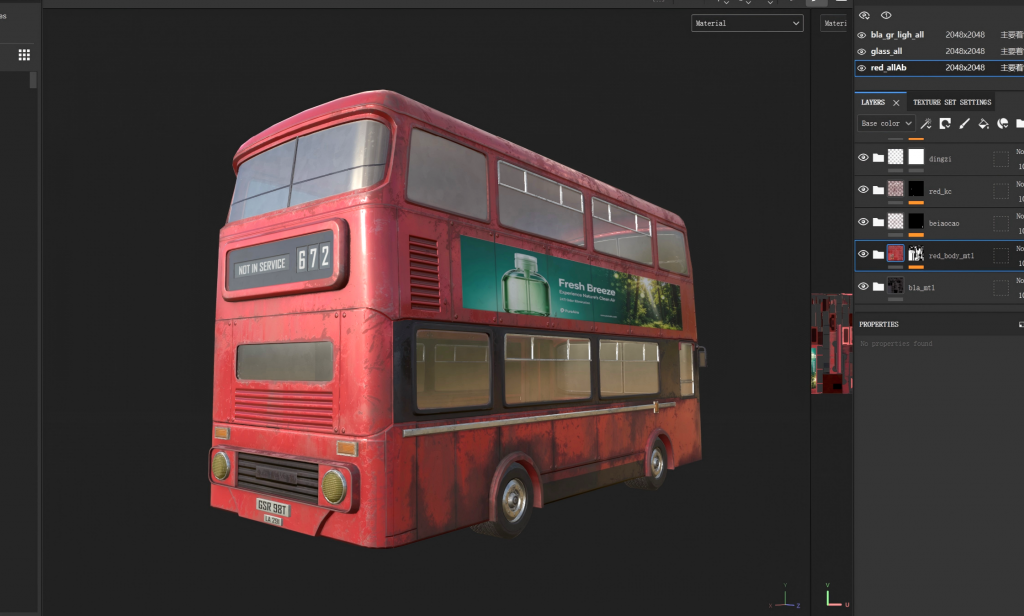
-
Week9
Quadrupedal Crawling Mechanical Creature
Original Image
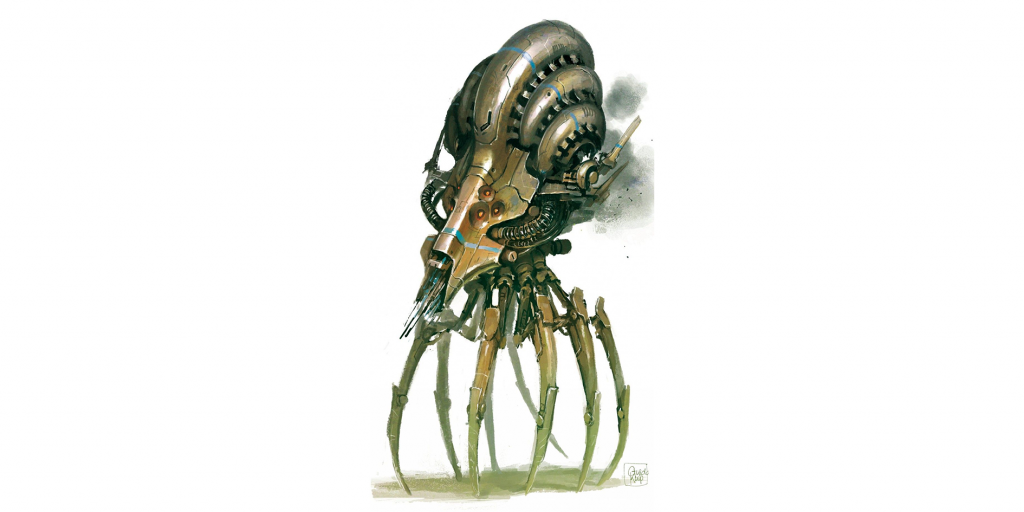
Website Link: https://uk.pinterest.com/pin/912823418210703330/
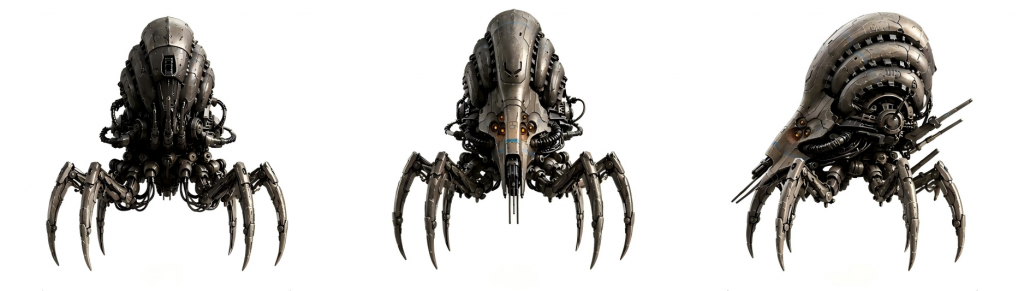
AI-Generated 2D Three Views
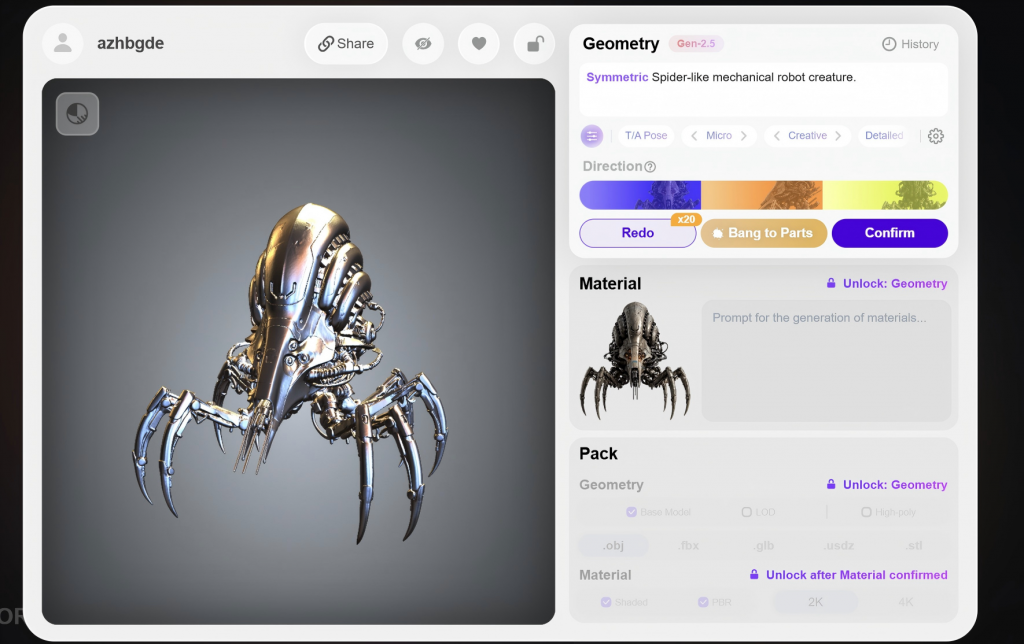
Rodin AI 3D Model Generation
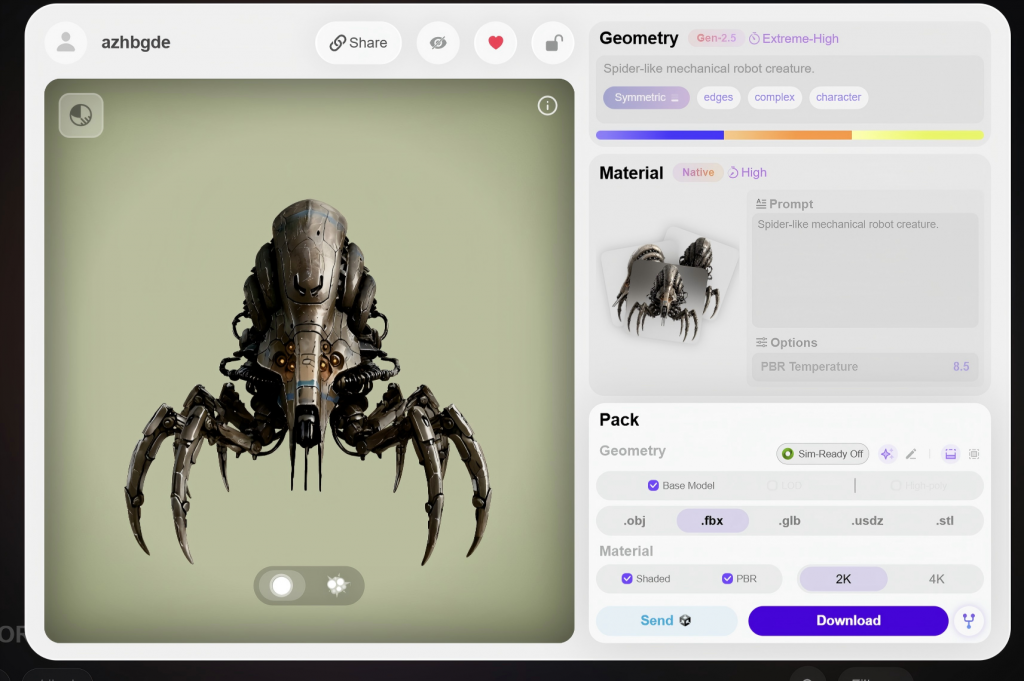
I uploaded the AI-generated orthographic views to Rodin as reference images, and it generated a realistic and convincing 3D model.
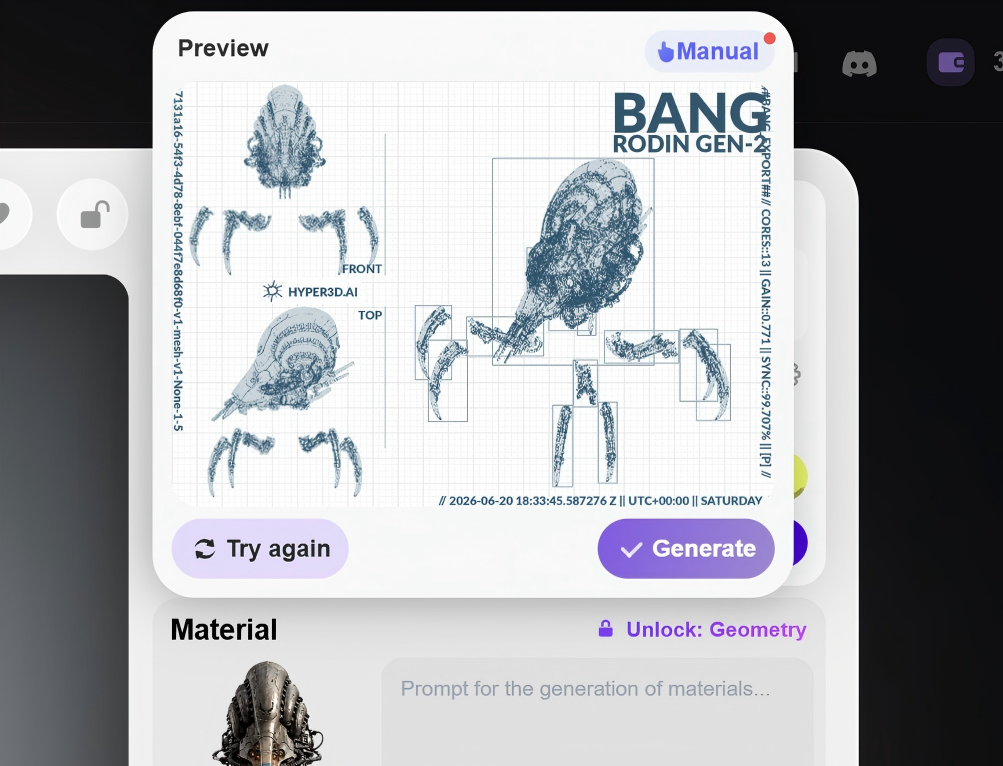
To prepare the model for animation, I separated it into individual parts.
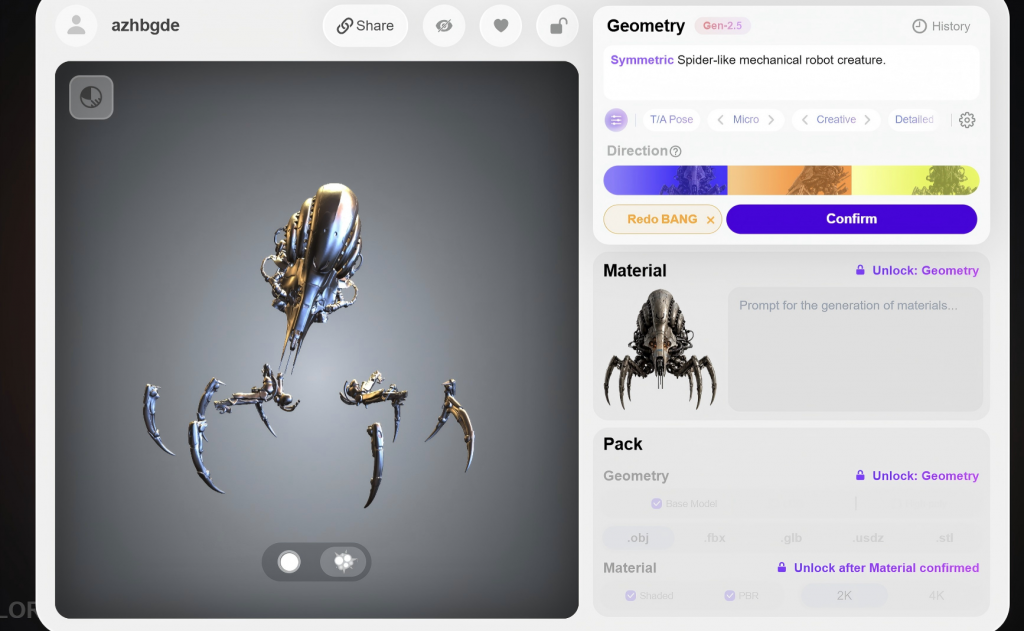
Finally, Rodin generated the materials/textures. After downloading them, I was able to import everything into Blender for rigging and animation production.
Quadrupedal Mechanical Creature – Rigging
After creating the head and body bones, I added Keep Offset constraints between them to establish a hierarchical relationship.
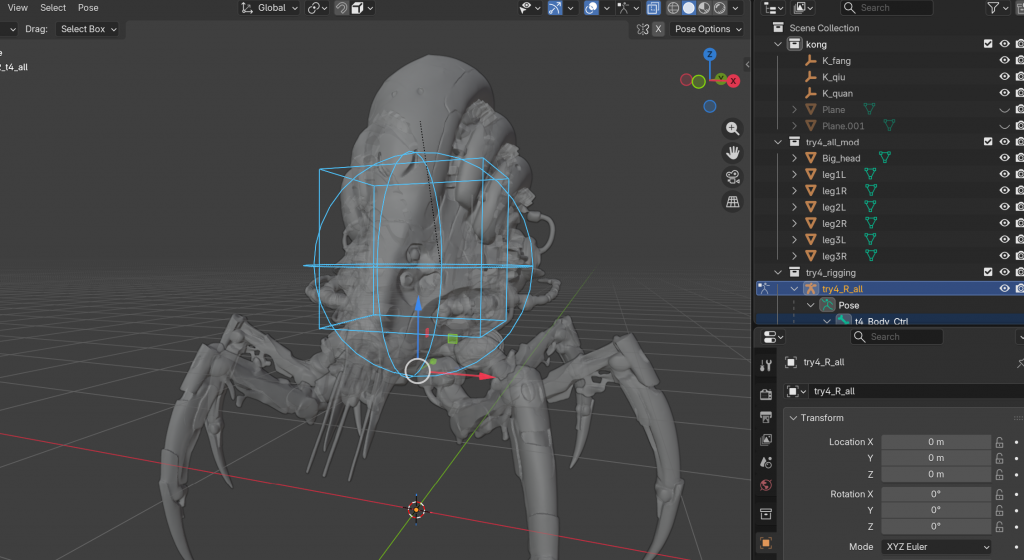
I then built the leg skeletons, positioning the bones as close to the model as possible. Corresponding controllers were also created, allowing the movement of the entire leg rig to be driven through these controllers. (During this process, I also used features such as left/right renaming and symmetry.)
Once the rig was completed, I bound the corresponding mesh parts to the skeleton. The result is shown below:
Quadrupedal Mechanical Creature – Idle Animation Production
-
Week8
Research on Rigging
1.1 Skeleton Construction
First, in Blender, I needed to build a skeletal structure that matched the mechanical design of the model.
In Edit Mode, I pressed Shift + A to create a new armature, and then used E to extrude new bones. Using this method, I constructed the corresponding skeletal structure for the model.
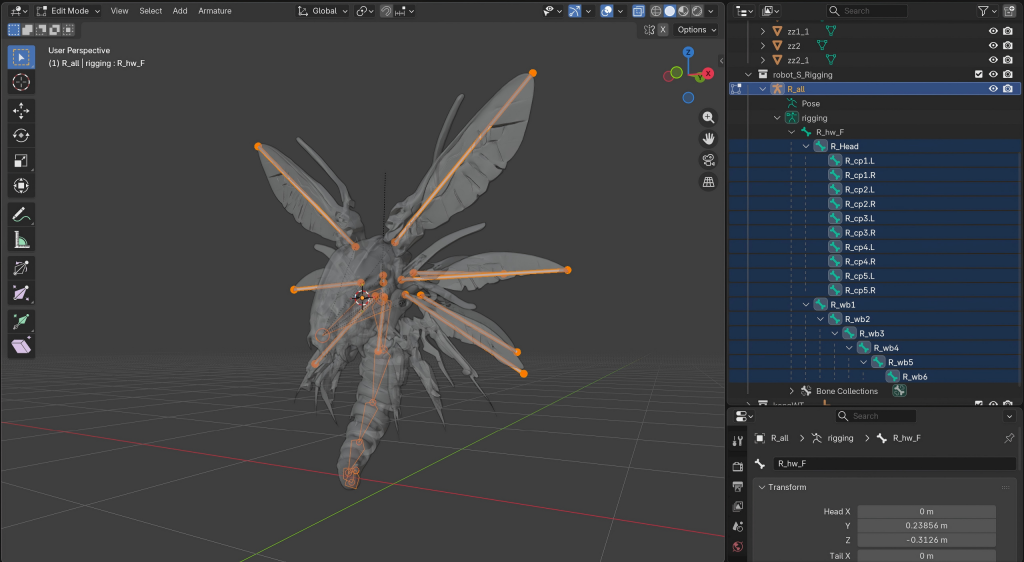
It is worth mentioning that Blender allows us to customize bone shapes. We can assign custom objects to bones and change their appearance to various shapes, such as cubes, spheres, rings, and more.
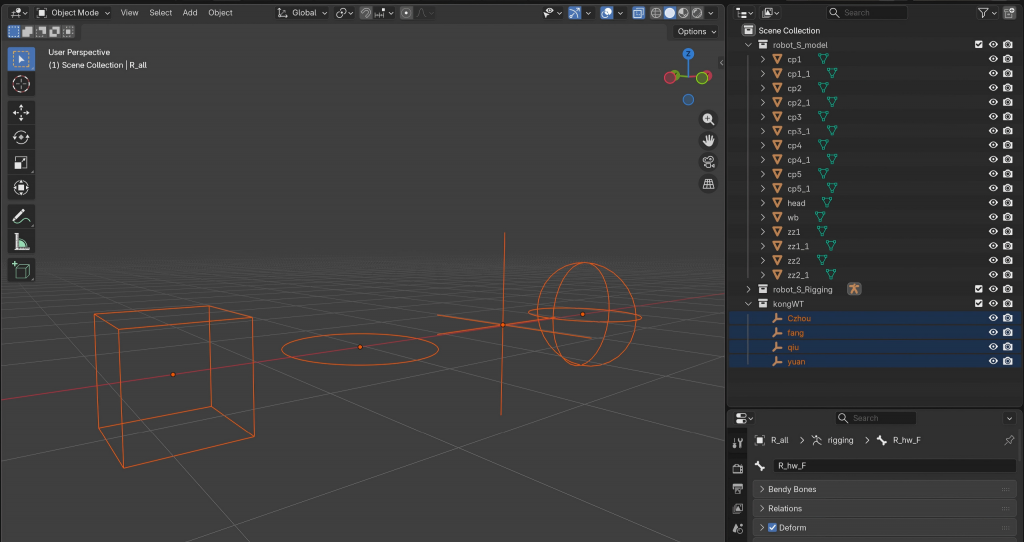
After completing the skeleton, I used the mechanical creature’s head as the main parent bone and made the wings and legs child objects of the head. This hierarchy allows movement of the head to influence all other connected parts.
1.2 Inverse Kinematics (IK)
In Pose Mode, I selected the lowest bone of the leg and added an Inverse Kinematics (IK) constraint. I then set the Chain Length value to 2, since each leg consists of three bone segments.
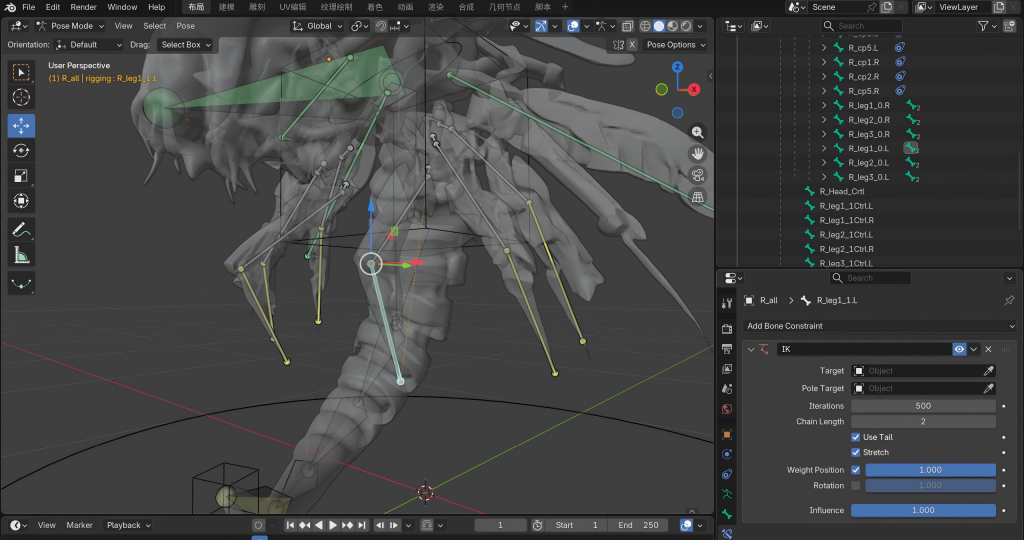
This allows movement of the bottom leg controller to drive the entire mechanical leg chain automatically.
Finally, I created a master control bone and parented all controller bones to it. With this setup, the skeletal rig was fully completed.
2.Binding the Skeleton to the Model
Leg Rigging
In Object Mode, I first selected the armature and then the model. After switching to Pose Mode, I set the parent relationship using Parent with Automatic Weights. This allowed the model to deform and move correctly when manipulating the leg controllers.
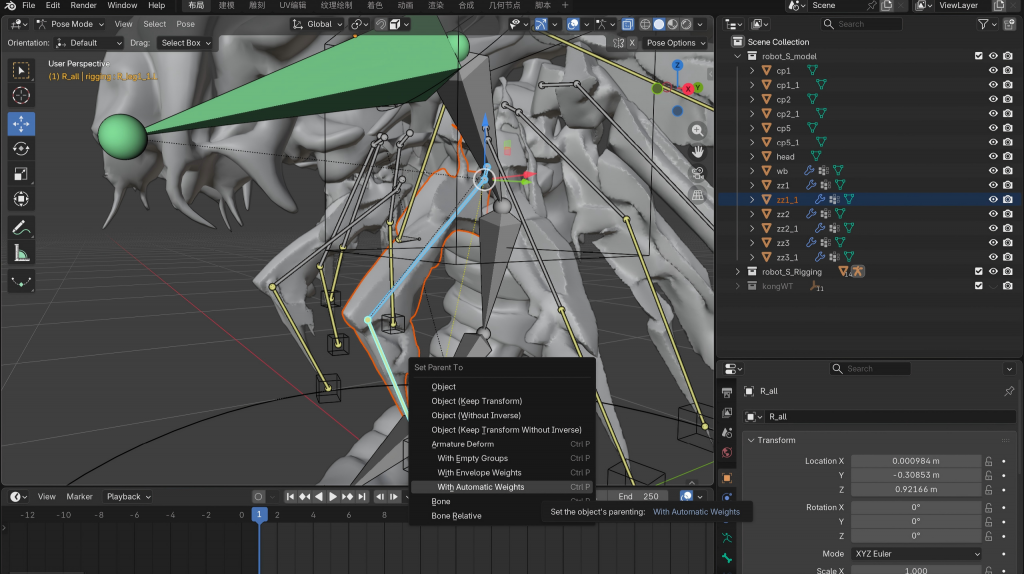
It is important to note that AI-generated models often contain split or disconnected faces. Before assigning weights, these vertices must be merged in Edit Mode. Otherwise, the mesh may crack or separate during deformation.
Cracked Model
Repaired Model
Animation Production – Looping Animation
I created keyframe animations for the mechanical creature’s wings and then applied a Function Modifier to make the motion repeat automatically. This resulted in a continuous wing-flapping animation.
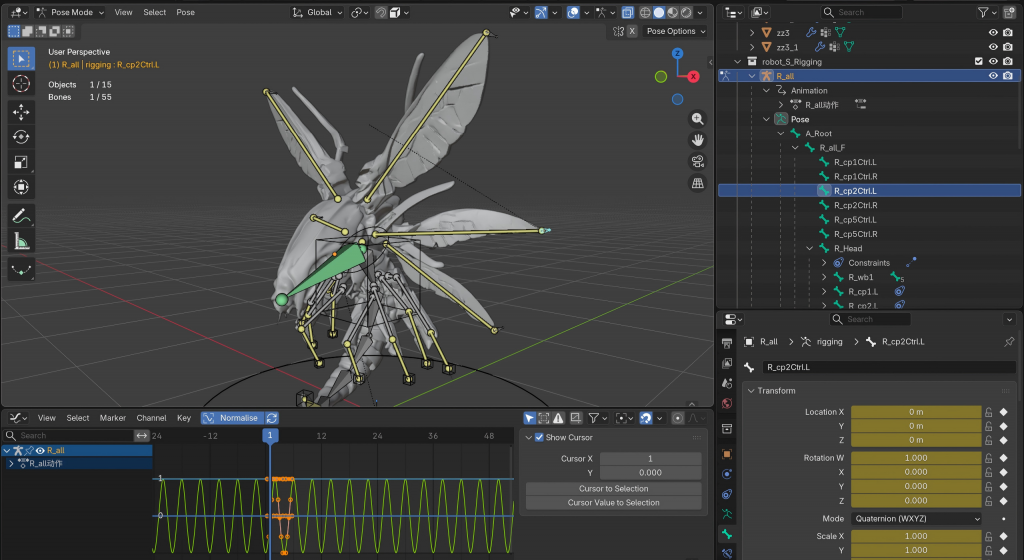
Using the same approach, I also created an idle animation for the mechanical creature.
UE5
During the course, we gained an in-depth understanding of Ray Tracing and Path Tracing technologies in UE5 (Unreal Engine 5), including their fundamental principles, implementation methods, and practical applications in real-world projects. Through lectures and case demonstrations, we learned that ray tracing can more accurately simulate reflections, refractions, and shadows in a scene, thereby enhancing the realism and immersion of rendered images. Path tracing, on the other hand, uses extensive light path sampling and calculations to achieve near-cinematic global illumination, resulting in more natural and detailed lighting and shadow effects.
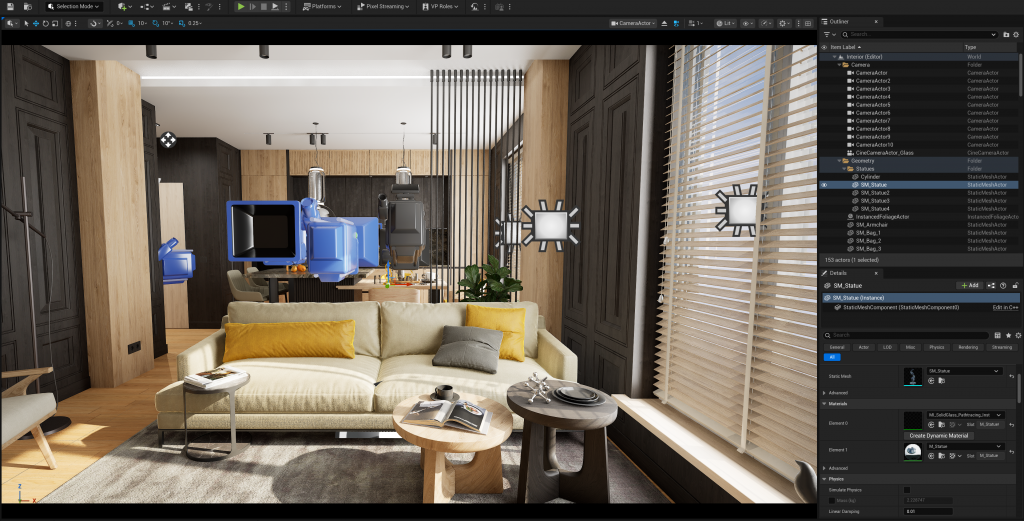
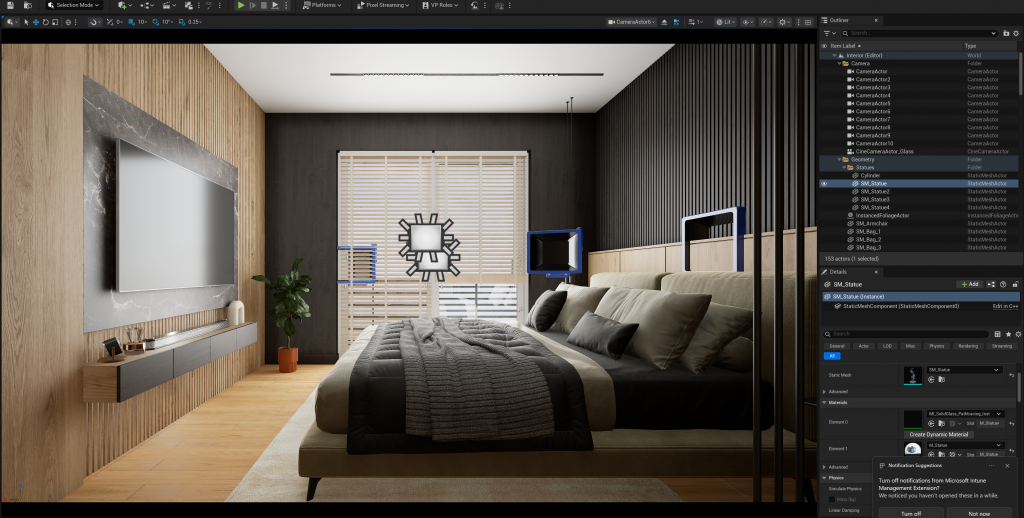
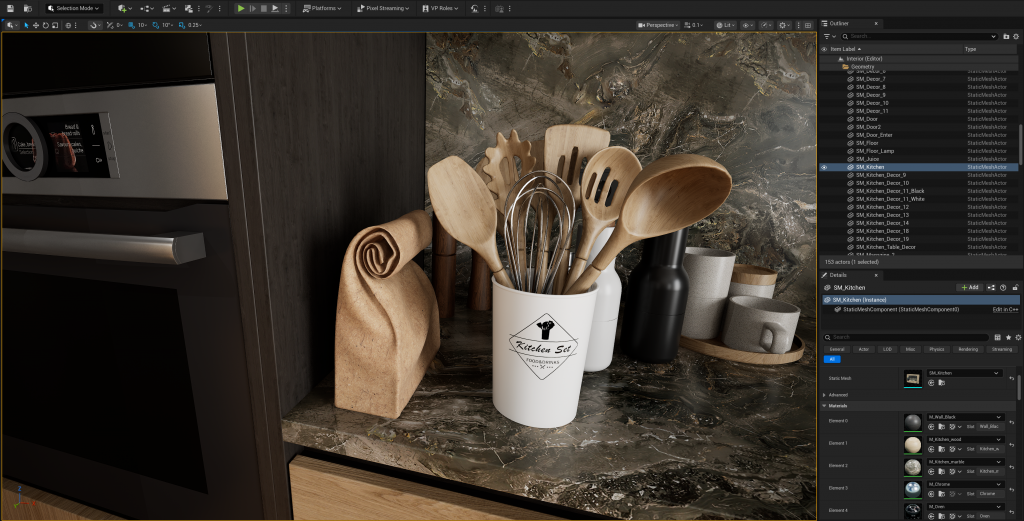
In the practical sessions, we observed and compared these technologies within specific scenes by adjusting parameters and rendering settings, allowing us to directly experience their impact on visual quality. For example, in areas such as metallic reflections, glass refractions, environmental lighting, and shadow details, both ray tracing and path tracing demonstrated a level of realism that is difficult to achieve with traditional rendering methods. Through these scene-based demonstrations, we not only strengthened our understanding of the underlying theories but also gained a deeper appreciation of the importance of advanced rendering technologies in fields such as game development, film production, and virtual reality.
-
Week7
Personal Project 1 Plan Overview
I will primarily focus on researching AI-based 3D modeling and learning how to manually rig models and create animations.
While reviewing job descriptions for modeling positions at many major game companies, I noticed that candidates are often expected to be familiar with some of the widely used AI modeling tools available on the market. Therefore, I plan to gain hands-on experience with these tools through my personal project so that I can better adapt to new workflows in future professional environments.
Preparation
Original Image
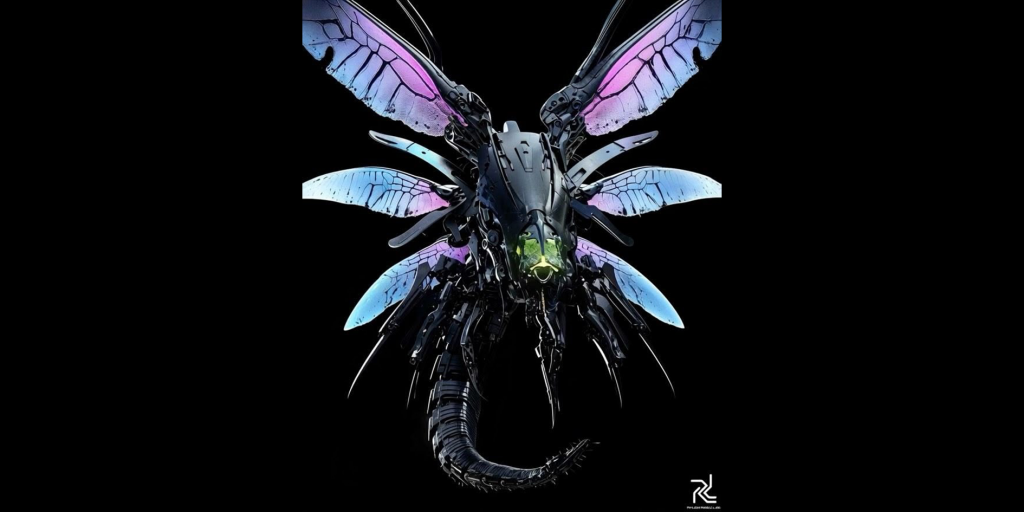
photo link: https://uk.pinterest.com/pin/865043040950126428/
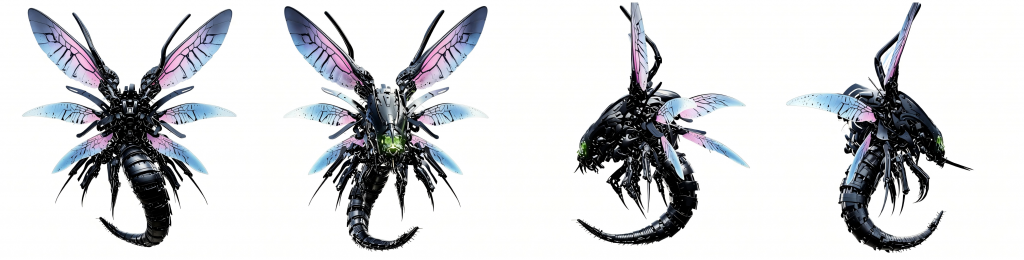
AI-Generated 2D Four Views
I found an AI-modified front-view image of a mechanical insect online and then used AI to generate its four orthographic views.
Exploring AI 3DModeling
1.Tripo Studio
Based on the provided images, Tripo AI generated a highly detailed 3D model, and the overall result looked very impressive.
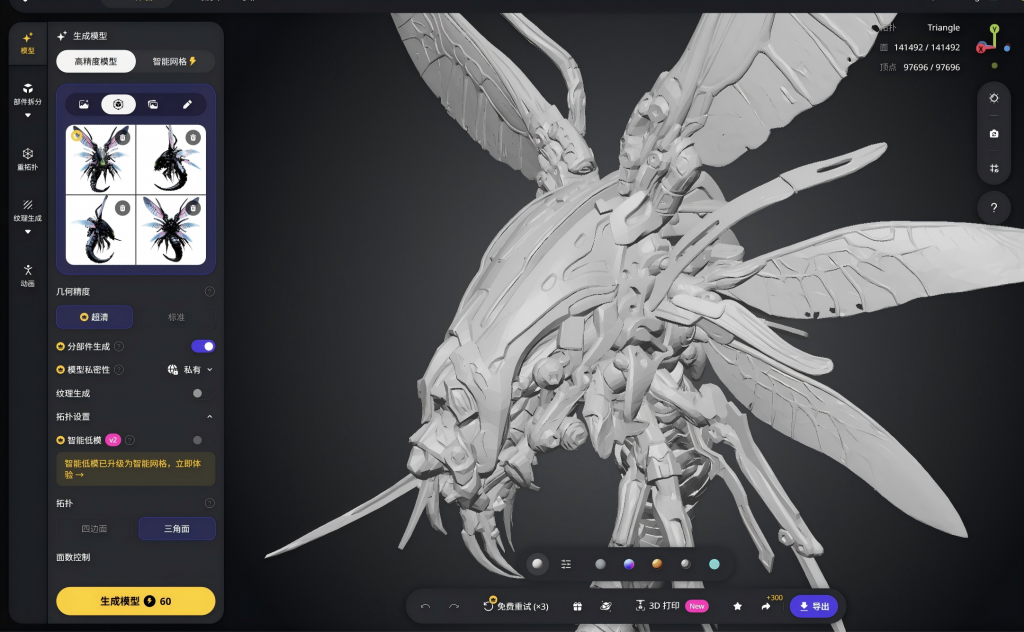
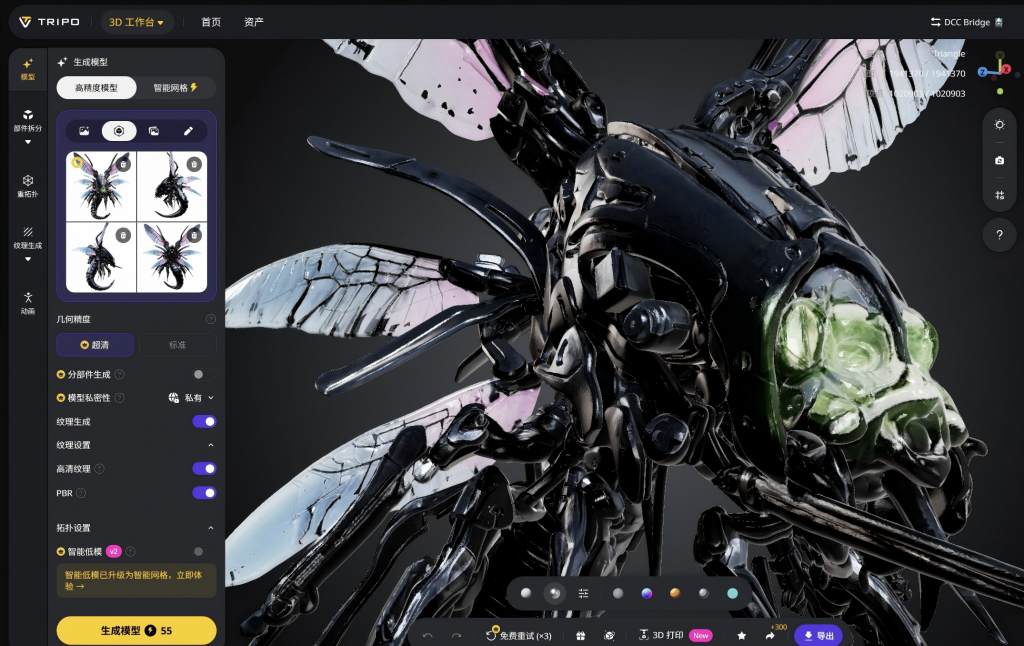
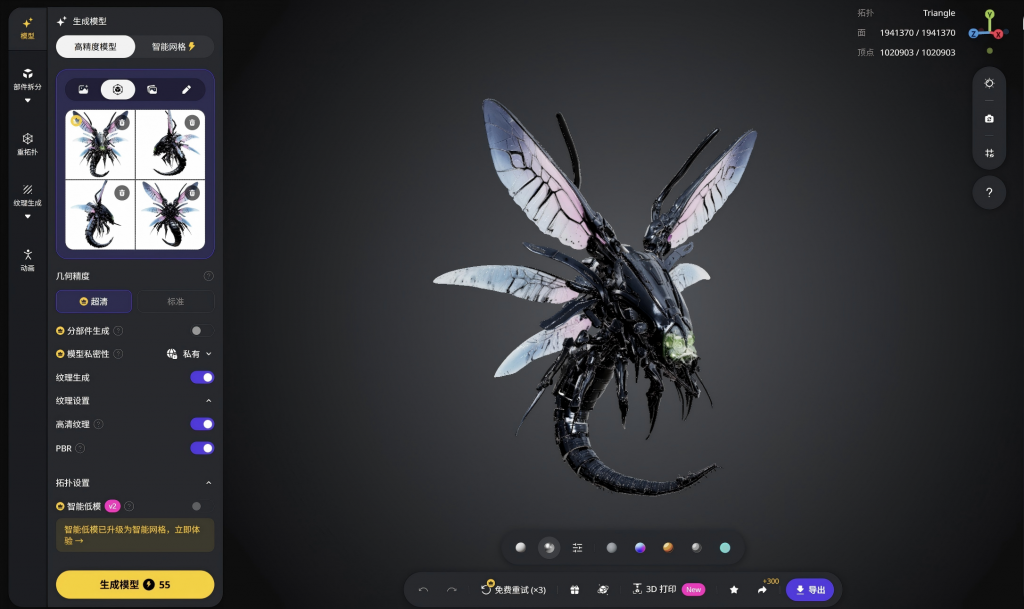
However, the model was generated as a single object. Since rigging would likely require separate movable parts, I decided to test Tripo AI’s component-splitting feature. Initially, the automatically generated segmentation contained many flaws and required extensive manual correction.
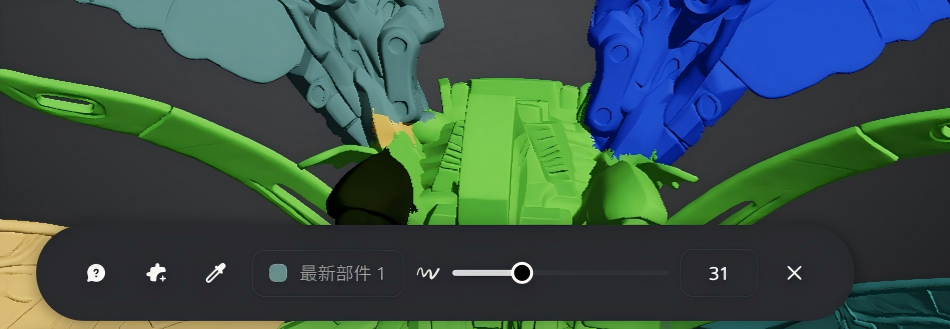
After a considerable amount of manual editing, I successfully separated the wings, arms, head, and tail into individual parts.
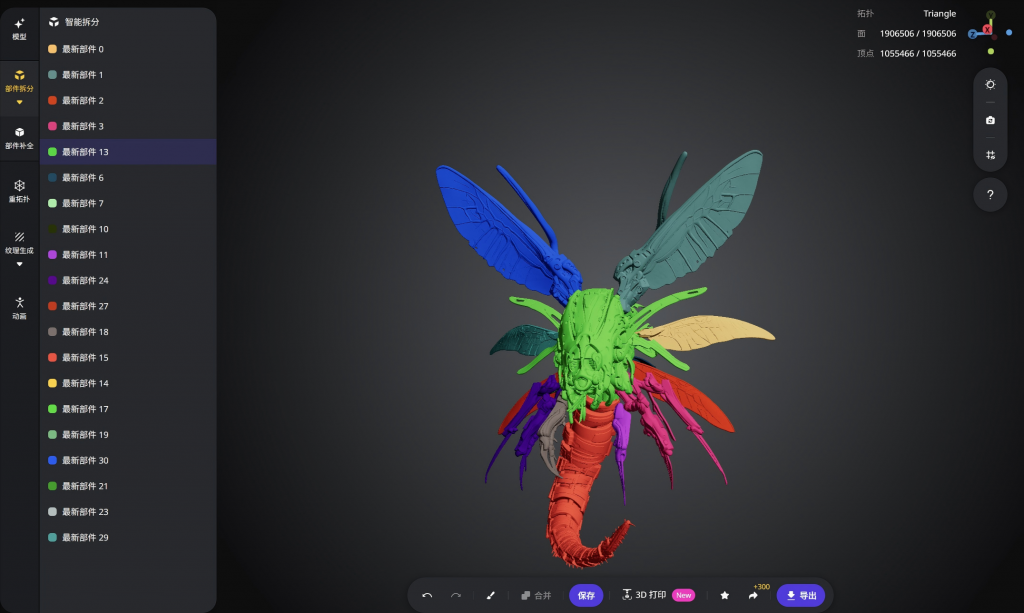
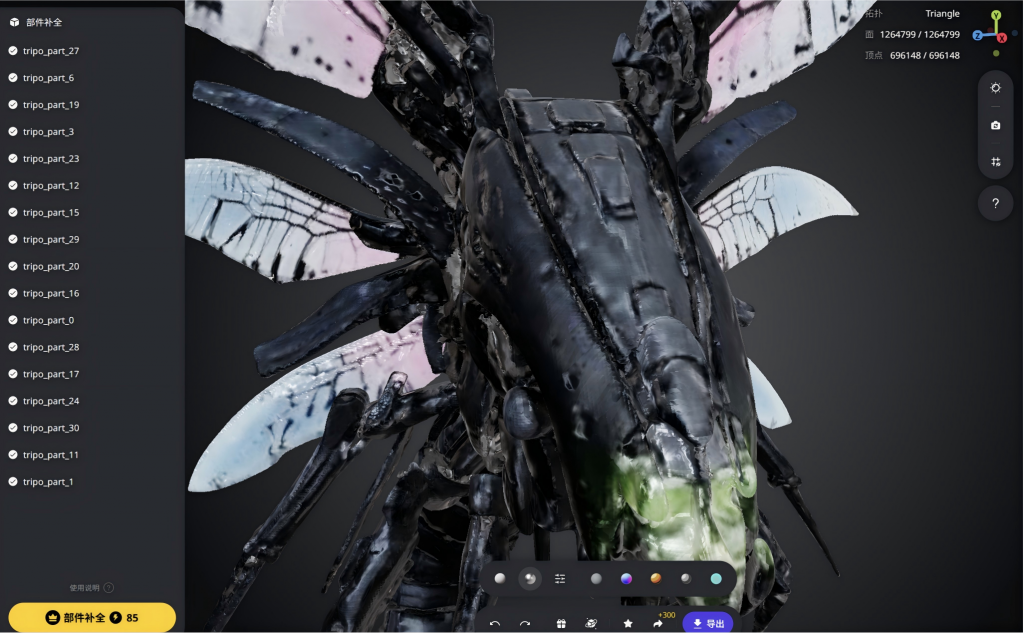
In addition, after using the component-splitting function, the software recalculated both the model’s polygon count and textures. As a result, a new issue appeared: the recalculated model and textures became noticeably less detailed and less clear than the original version.
2.Rodin AI
Based on the provided images, Rodin AI also generated a highly detailed 3D model.
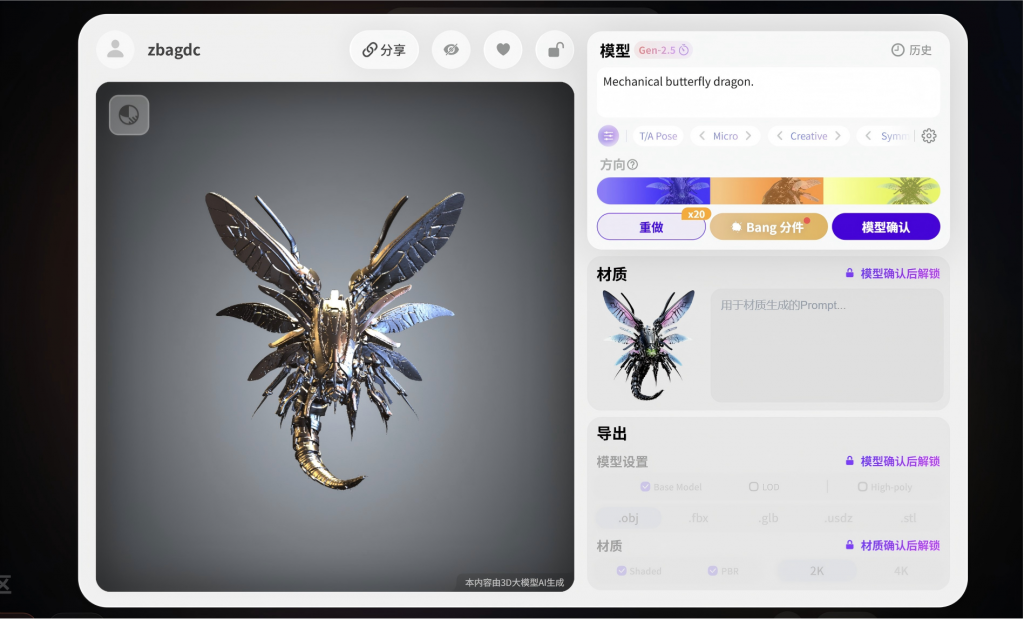
One advantage of Rodin AI is that it can first separate a complete model into individual components and then regenerate sketches to determine how those components should be divided. As a result, its segmentation performance is better than that of Tripo Studio.
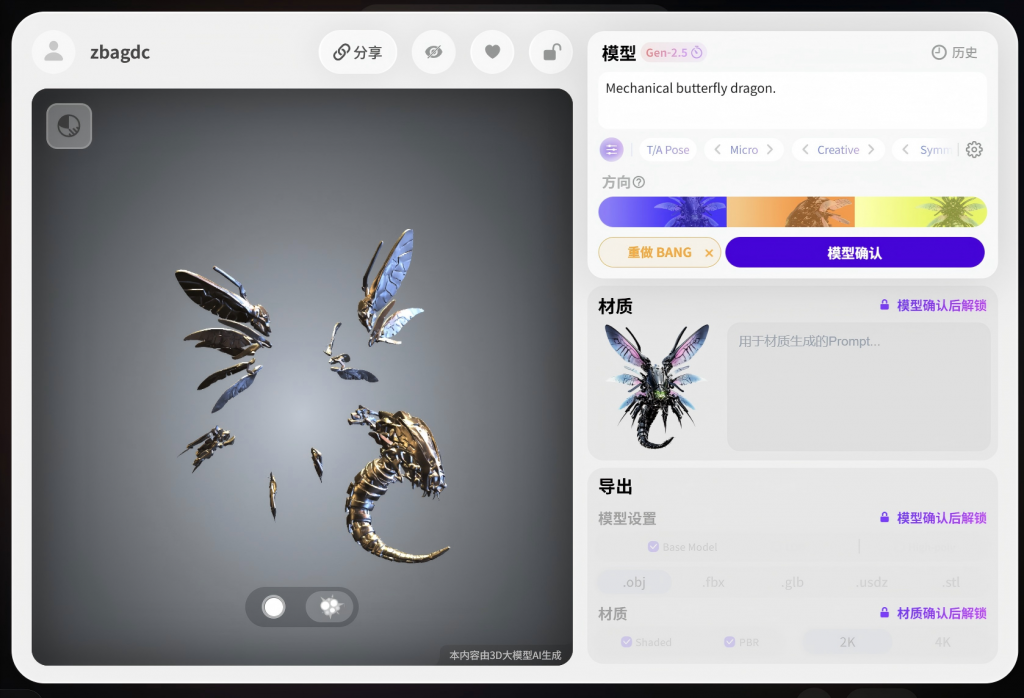
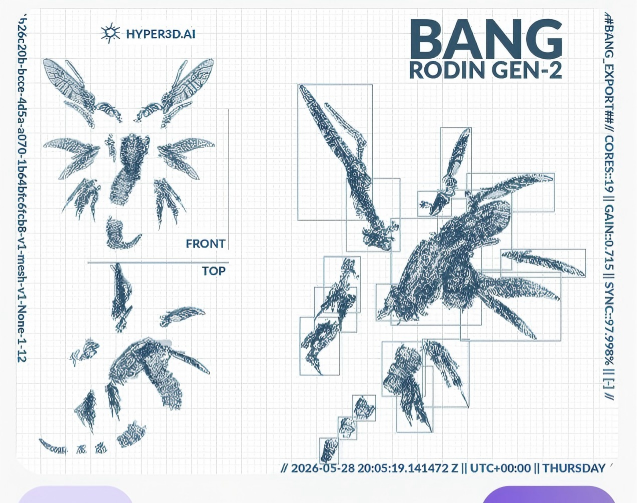
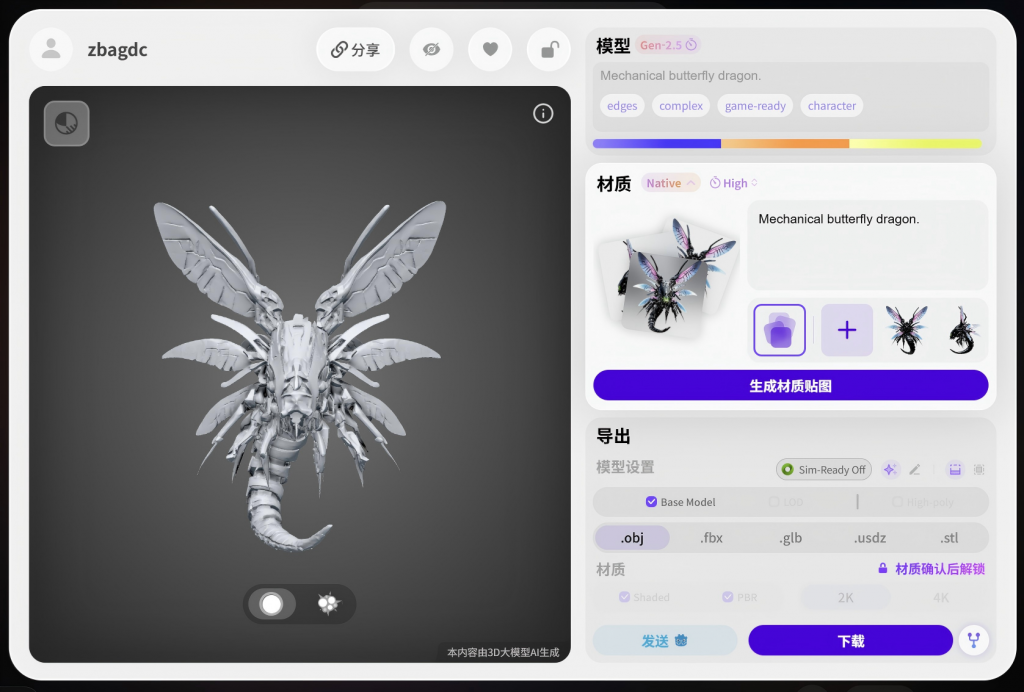
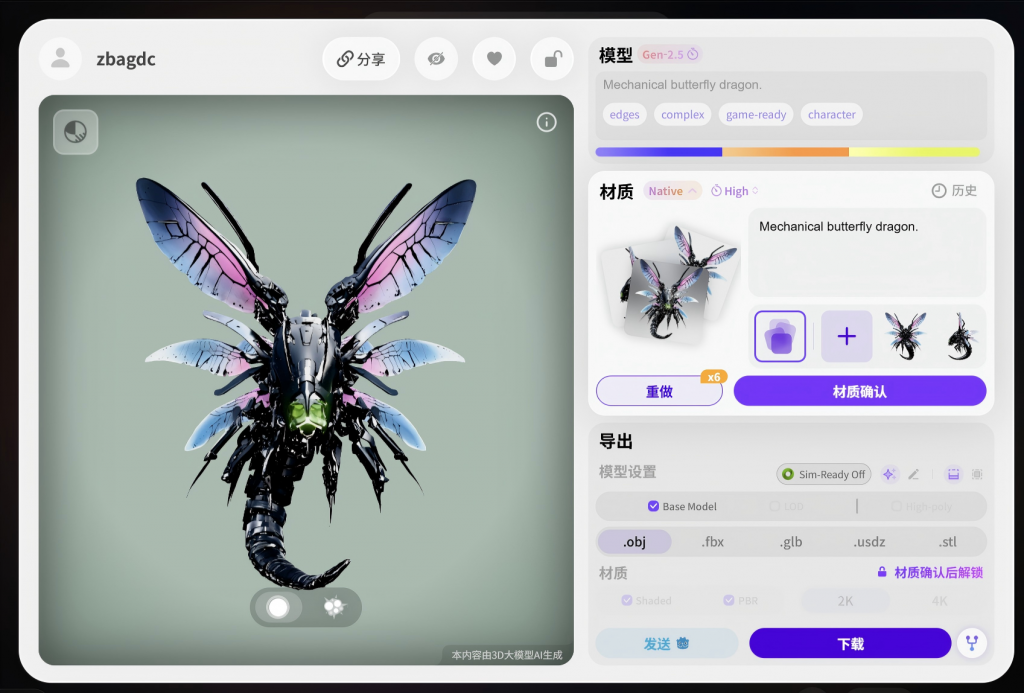
After the model was split into parts, Rodin AI generated the materials. After reviewing the final exported result, I was more satisfied with the outcome produced by Rodin AI.
Conclusion
First, Tripo Studio is capable of generating more detailed models. However, after using its component-splitting feature, both the model geometry and textures become noticeably rougher.
Second, without purchasing the Business plan, Rodin AI does not achieve the same level of model detail as Tripo Studio. However, its component-splitting functionality performs better than Tripo Studio’s.
Therefore, I may continue experimenting with Rodin AI to create new models in future projects.
-
Week6
Texture Modifications
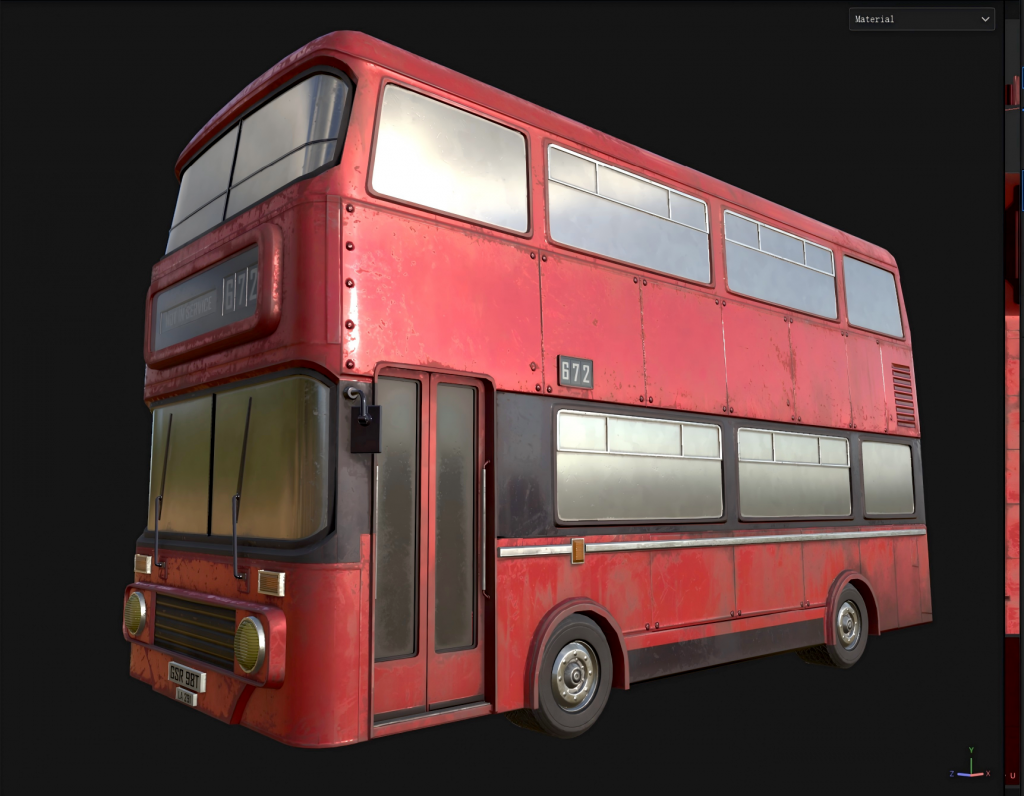
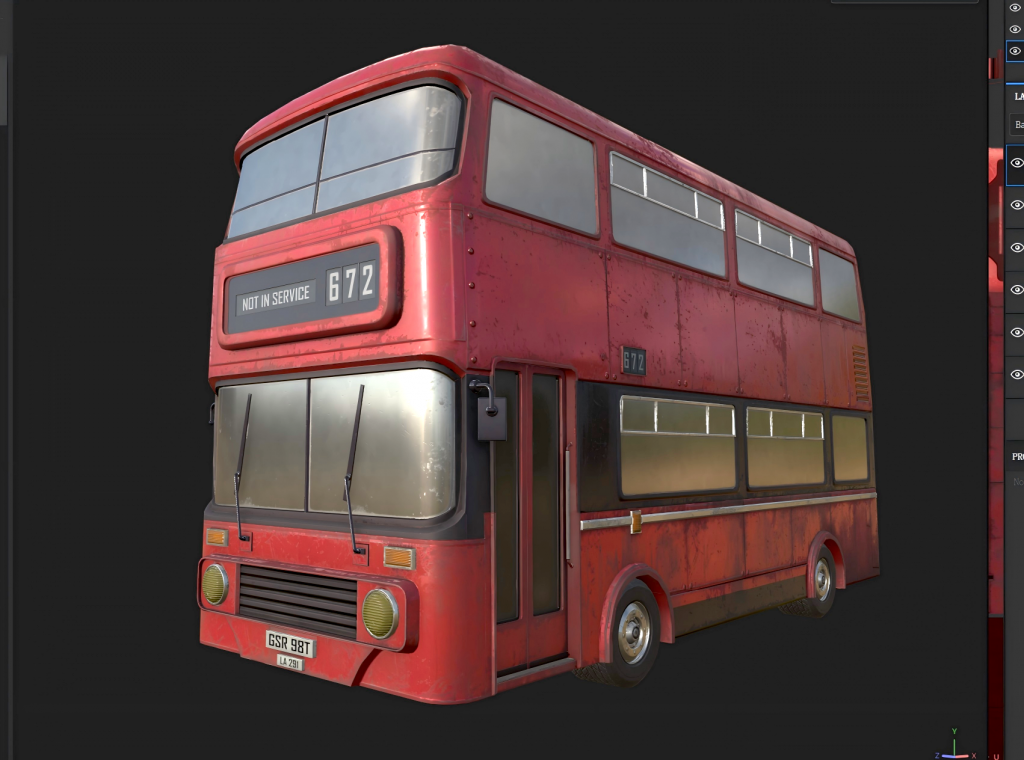
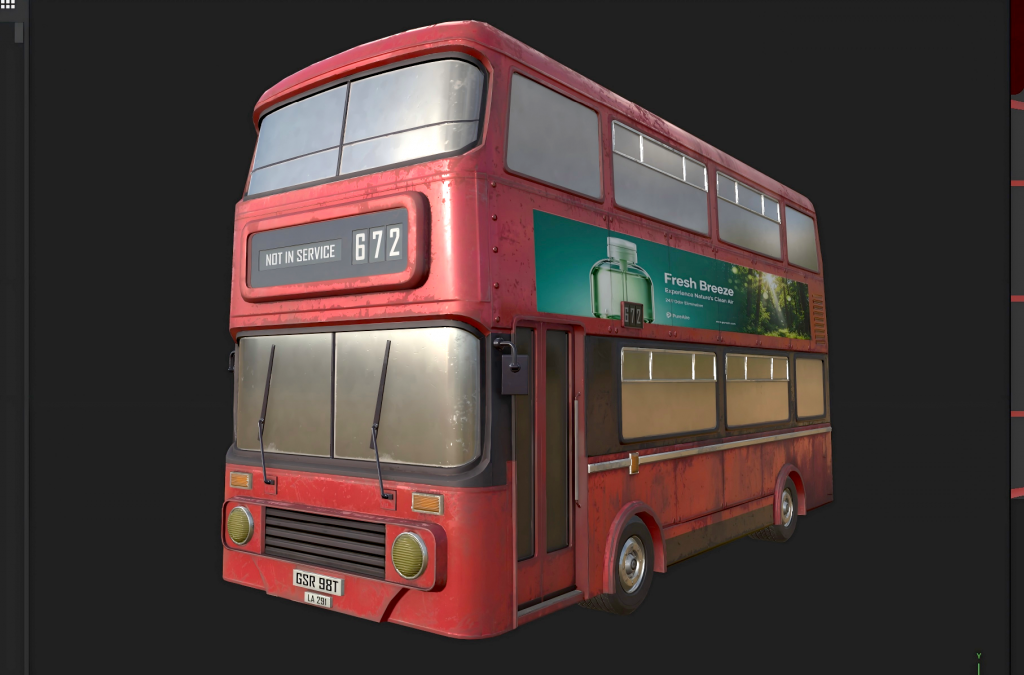
Based on my teammates’ suggestions, I modified the bus’s materials and parts of its structure. For example, I added more grooves and surface details to the high-poly model of the bus and incorporated an additional metallic structural element.
Following further feedback from my teammates, in the material design, I changed the bus’s color scheme from an orange-red tone to a burgundy tone and added some rivet details.
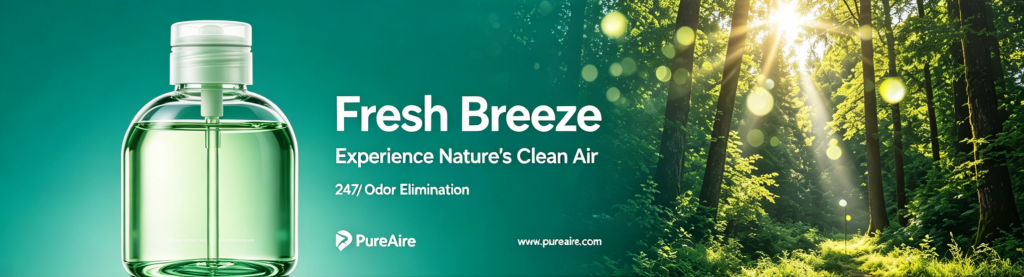
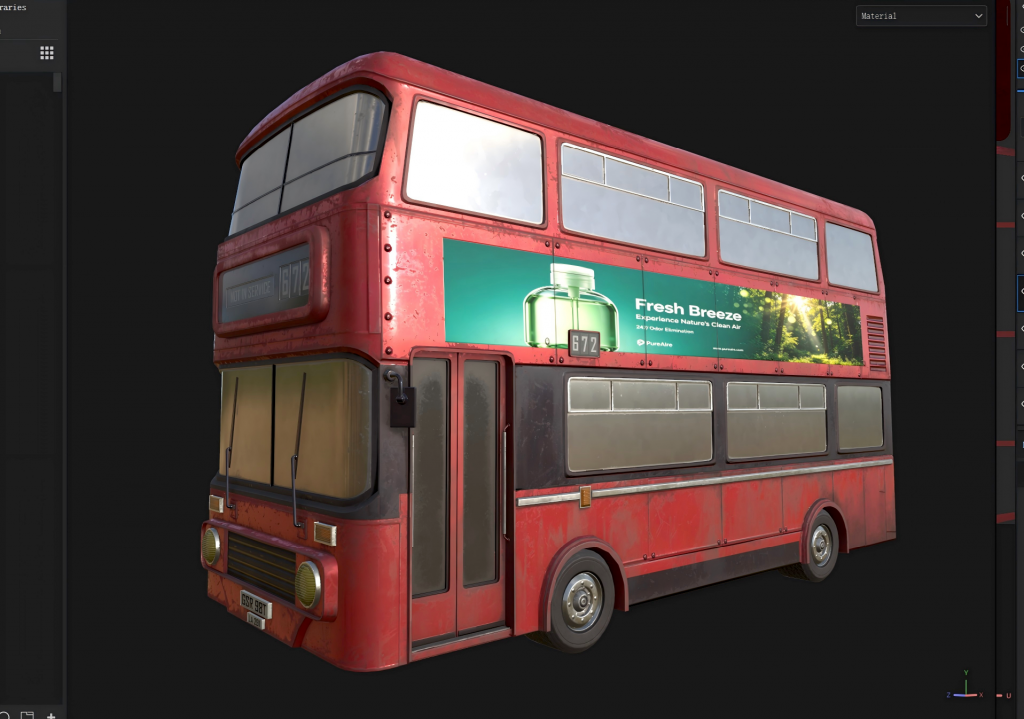
At my teammates’ request, I used Dola AI to generate several relatively realistic advertising images for air purifiers and then applied these advertisements to the exterior of the bus.

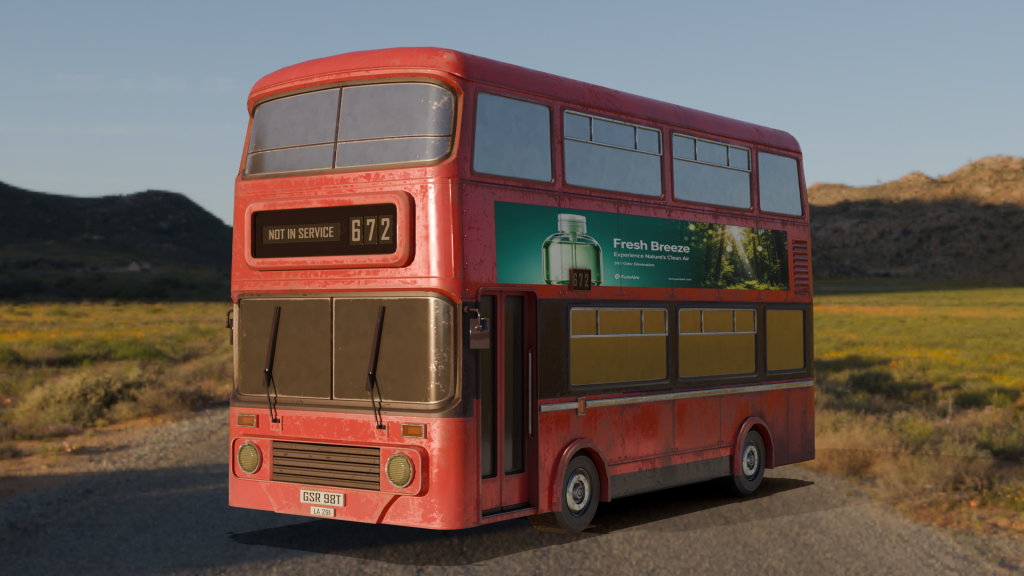
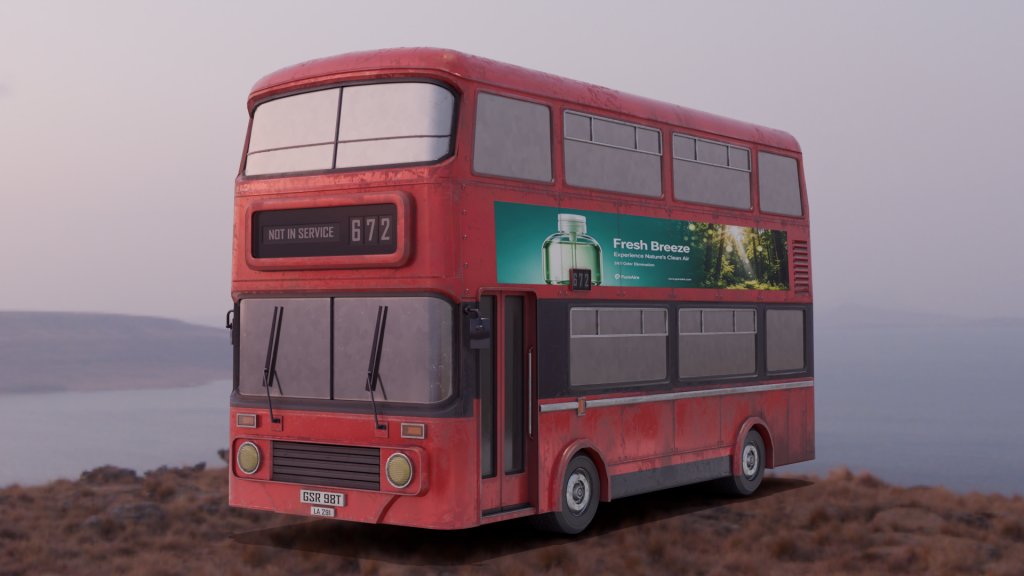
Blender Rendering Attempt 2
I imported the newly created materials into Blender and experimented with rendering using different HDRI environments.
-
Week5
Texture production
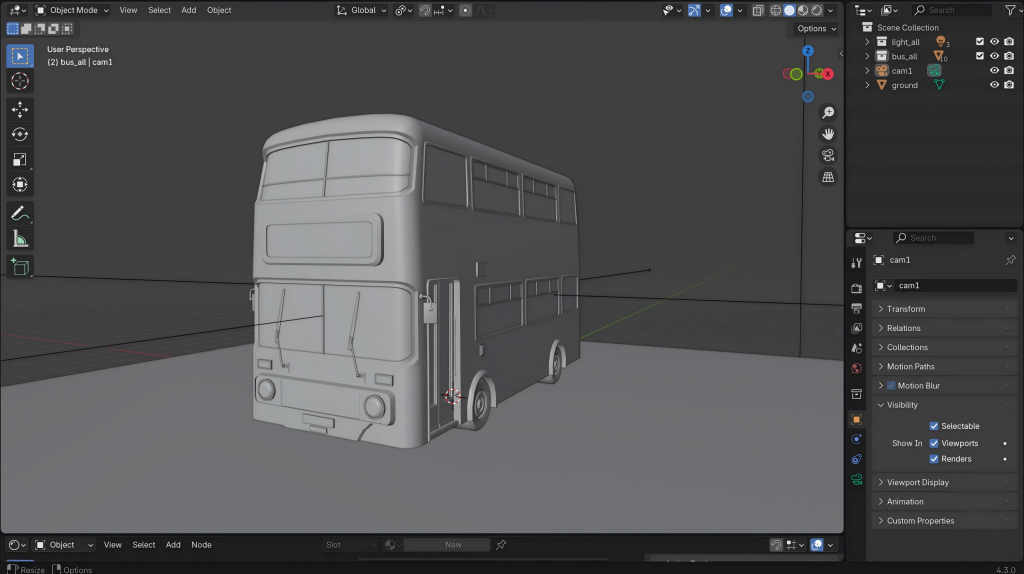
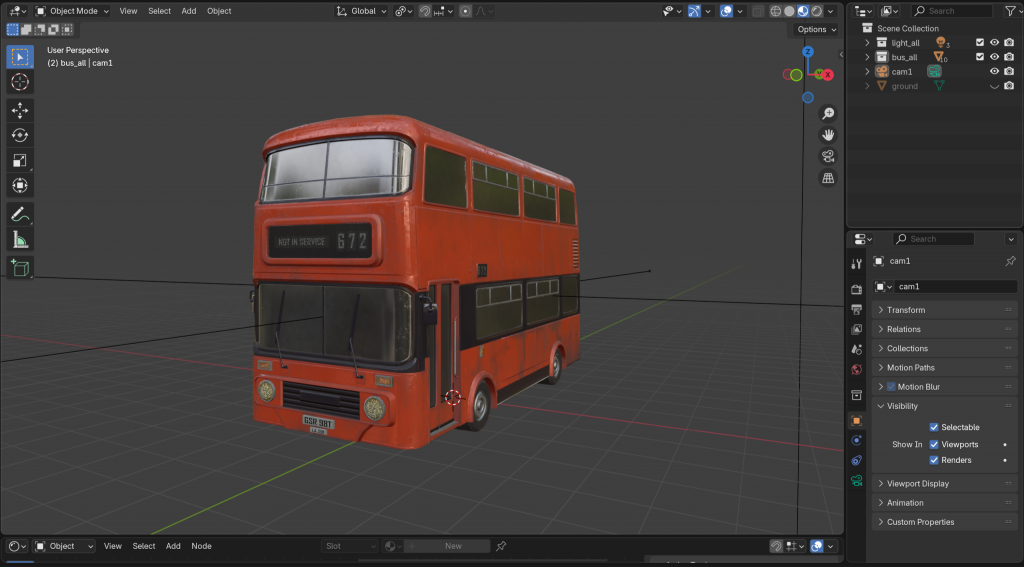
In Substance 3D Painter, I baked the details from the high-poly model onto the low-poly model.
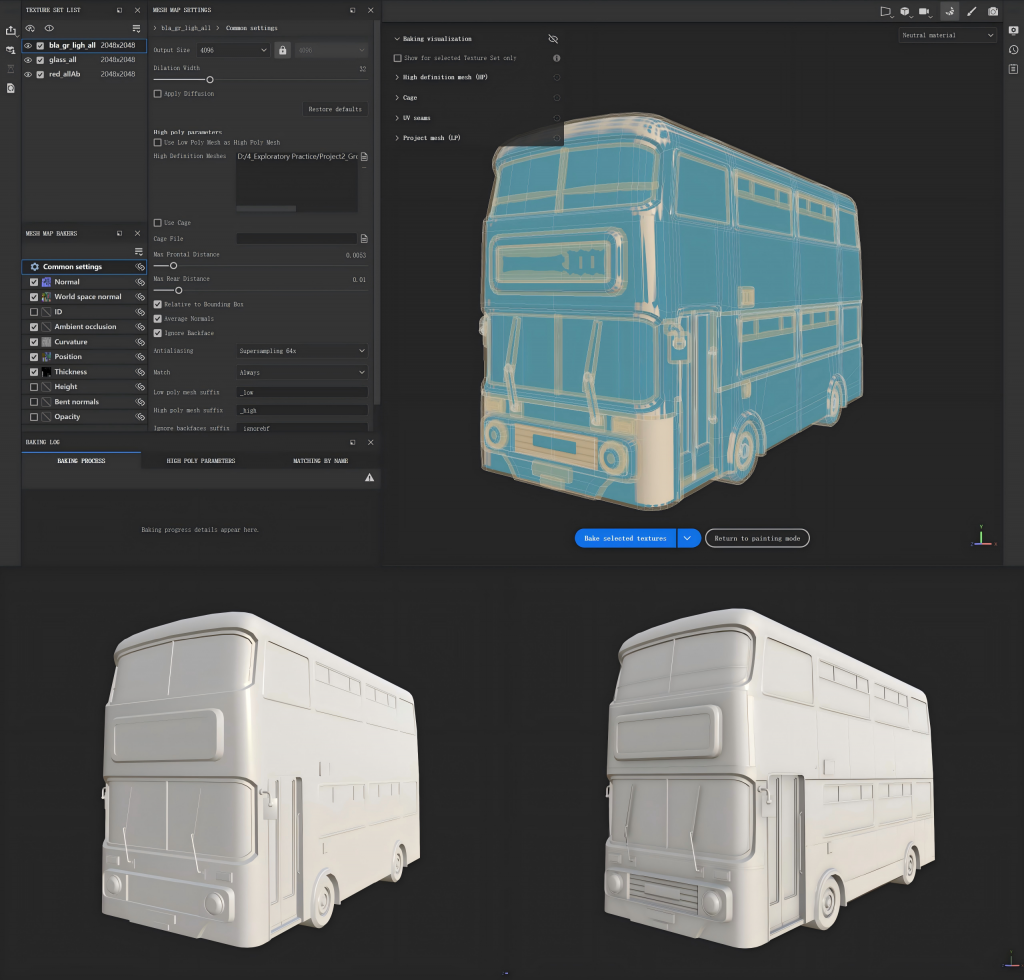
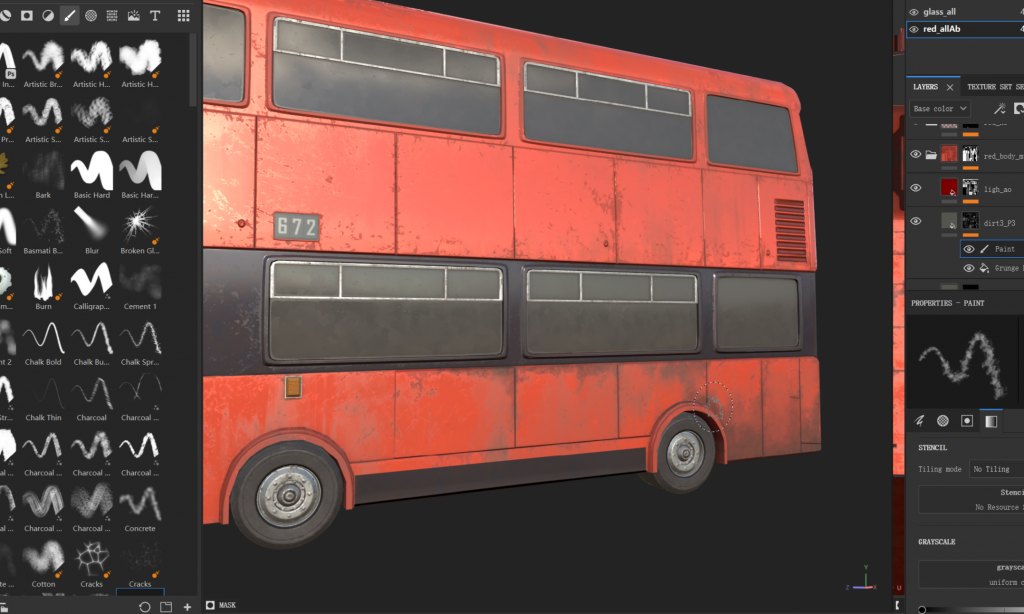
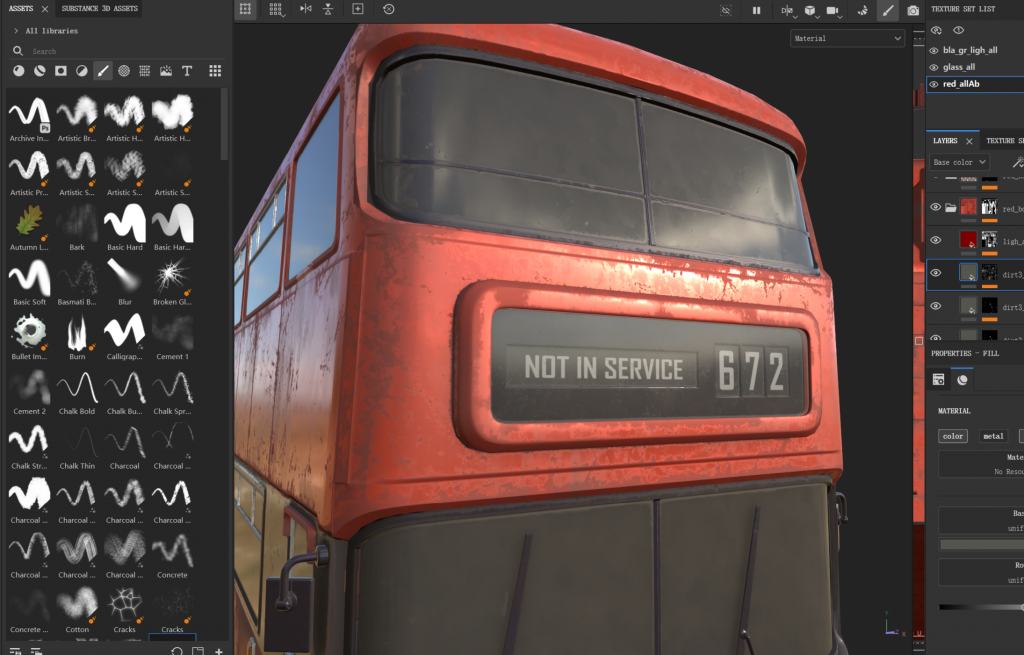
Then, by selecting different faces, I assigned the red body sections and the black sections. Using black masks, I not only distinguished the different materials but also added varying levels of wear and dirt to them.
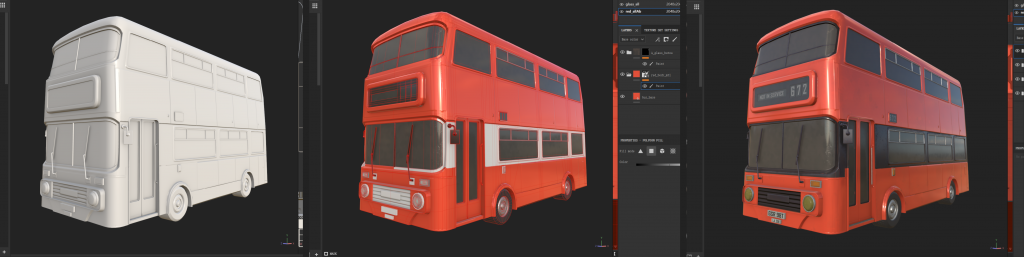
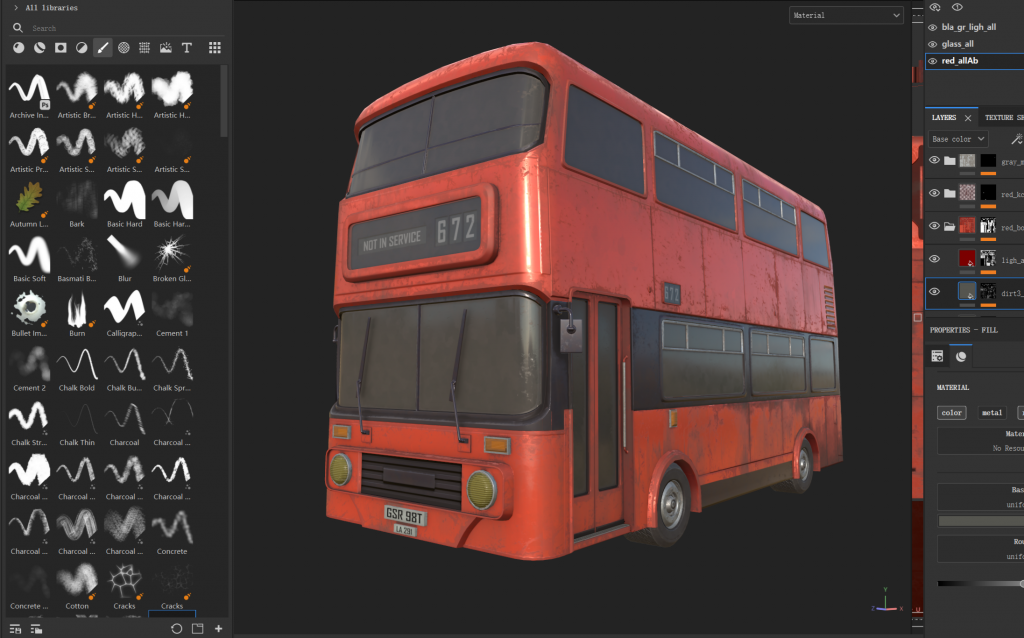
In addition to using generators, I also used brushes to paint details in areas where dust is likely to accumulate.
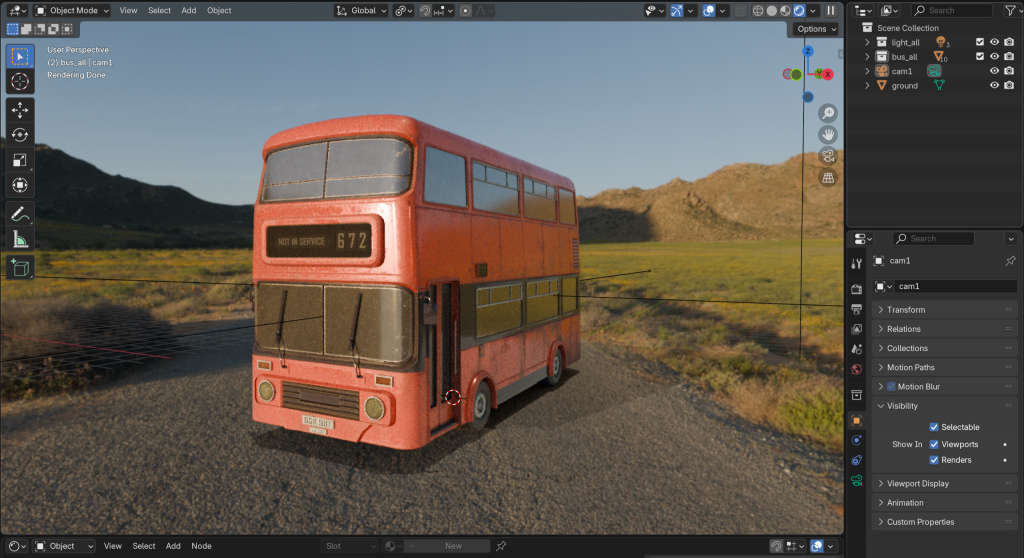
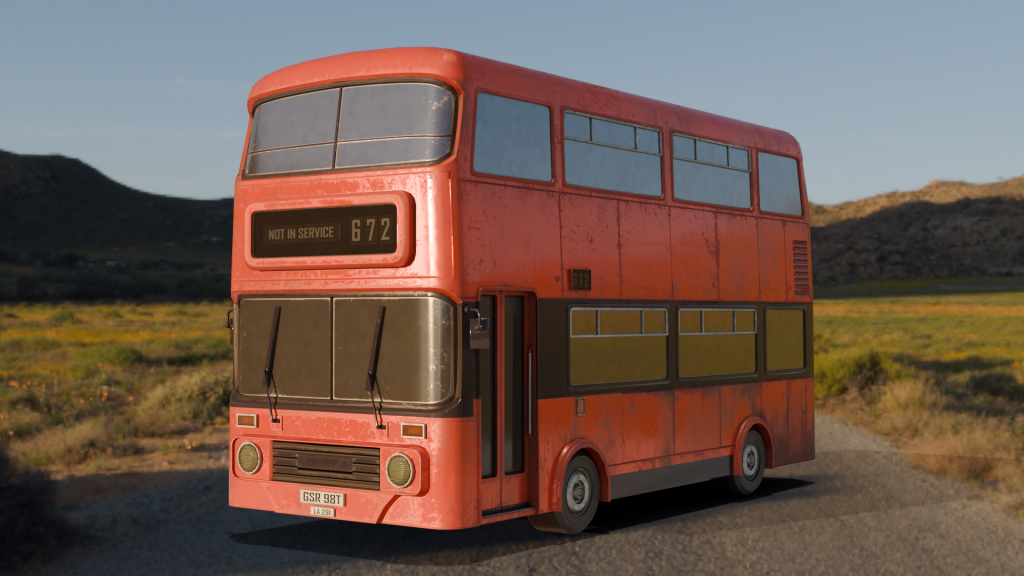
Blender Rendering Result
Because our group planned to build and render the scene in Blender, I imported the bus model and materials I had created into the software and added an HDRI background to test the visual result.
Nuke
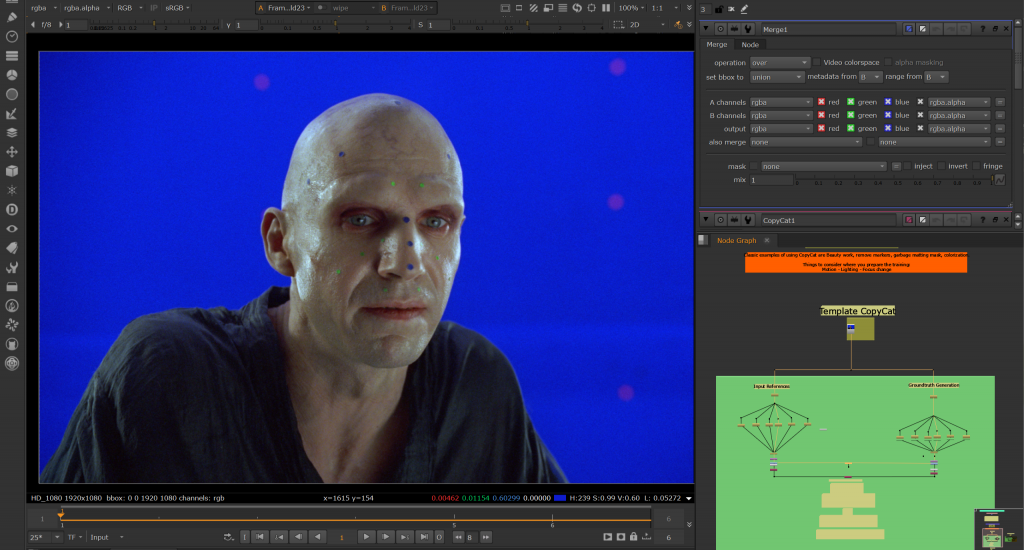
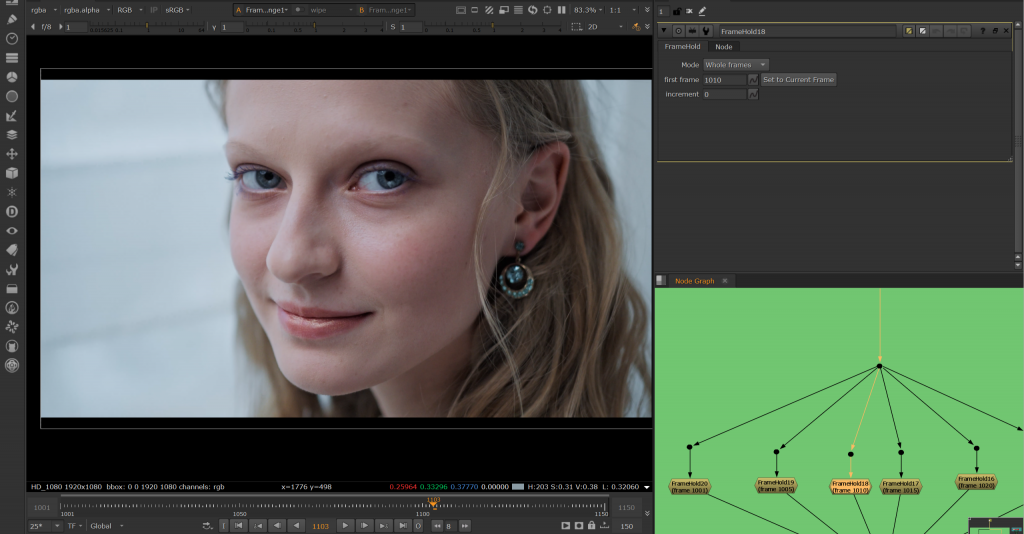
In class, we learned how to use CopyCat nodes, which will be very helpful for our future projects. In addition, we also learned about the FrameHold node and how to extract specific frames that we want to select.
-
Week4
Modeling_Bus
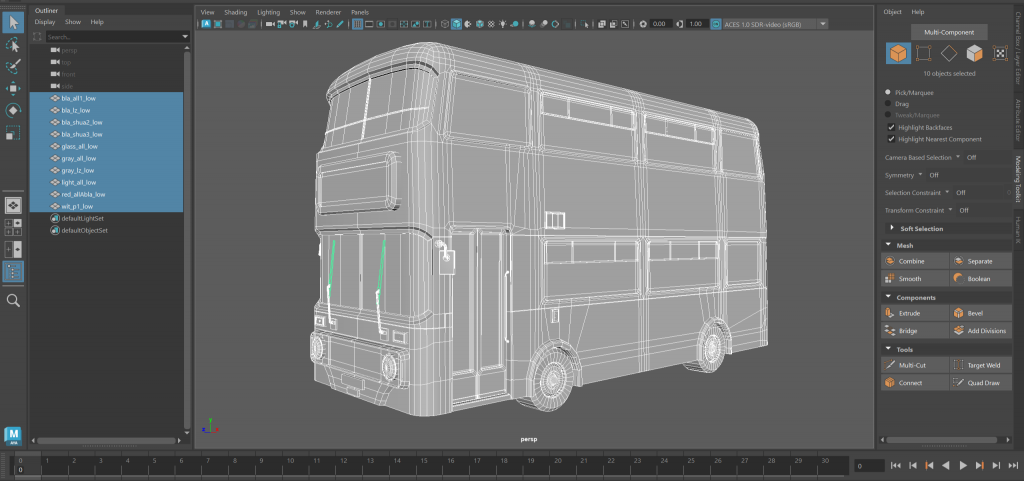
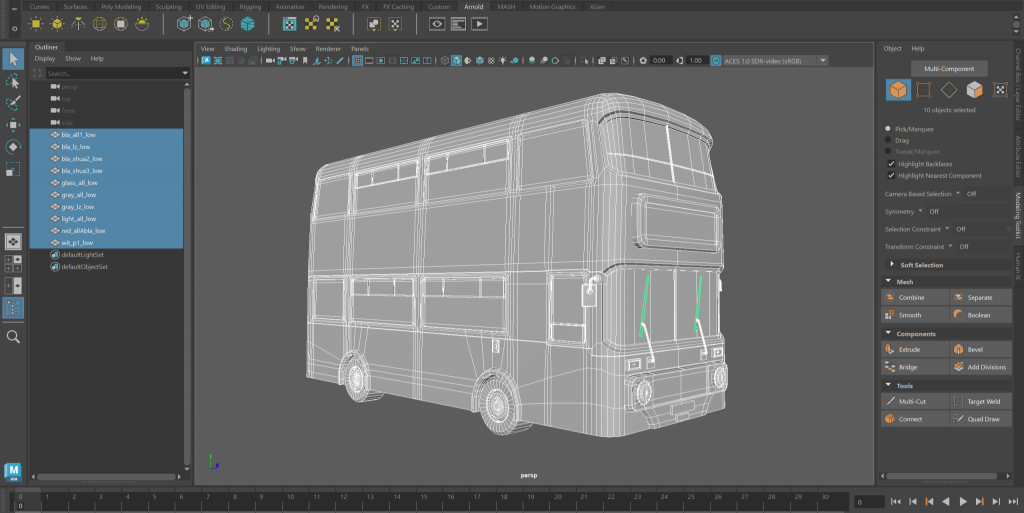
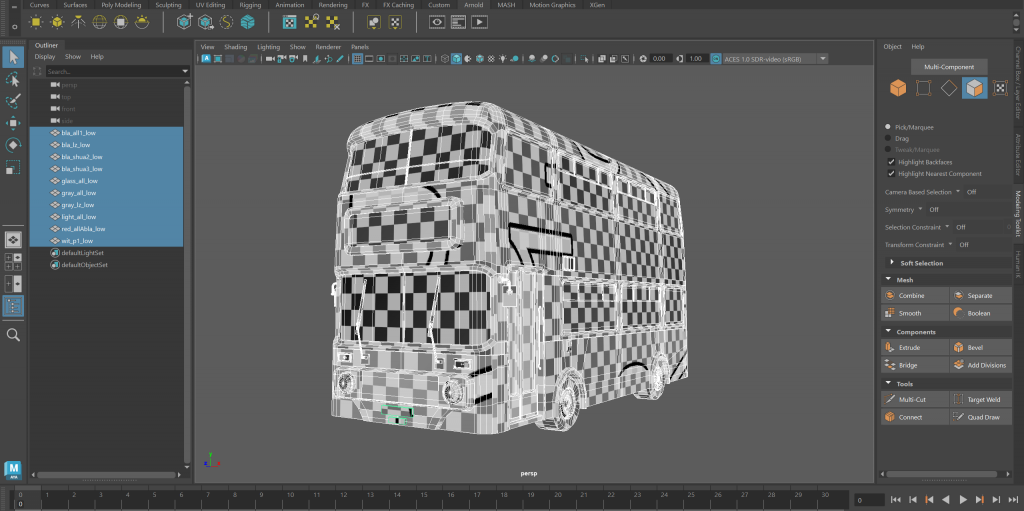
I modeled the realistic bus I designed, keeping the polygon count as low as possible while preserving the overall silhouette of the model. Since this realistic bus may appear in the same scene as real people, I needed to ensure that its proportions matched those of a real vehicle.
Wireframe
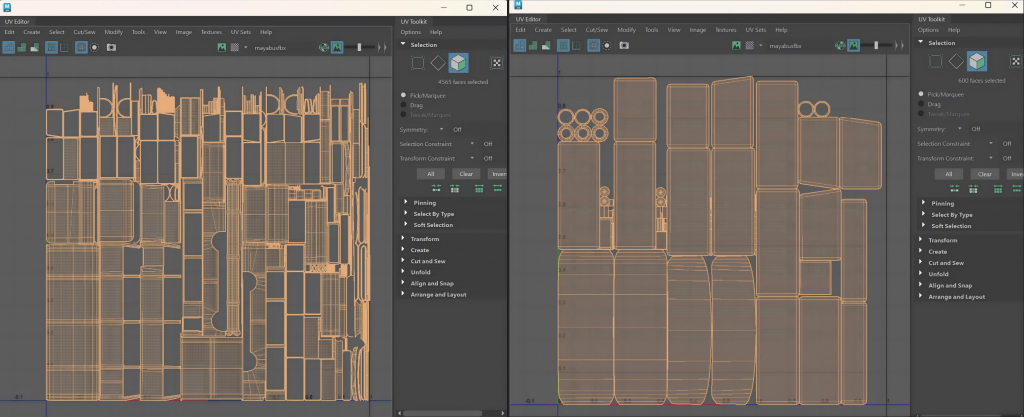
UV
Model Showcase
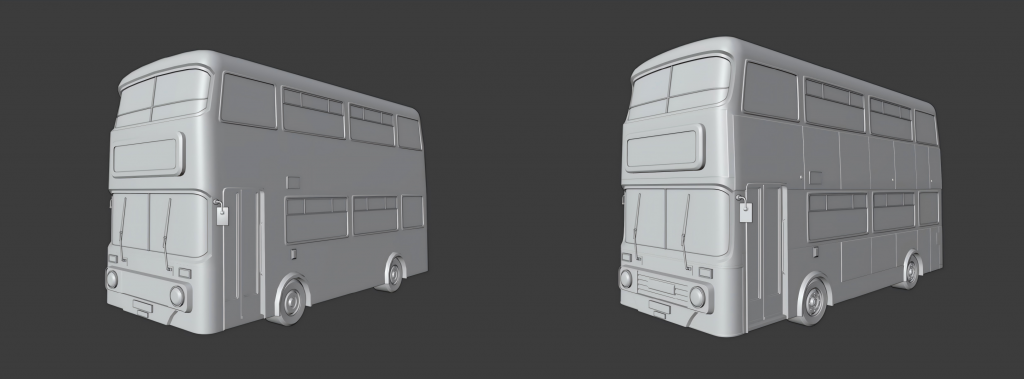
After finishing the low-poly model, I also created a high-poly version, which adds many surface details to the vehicle body as well as detailed structures for the tires. This makes it easier to perform texture mapping during the material creation process.
-
Week3
Nuke
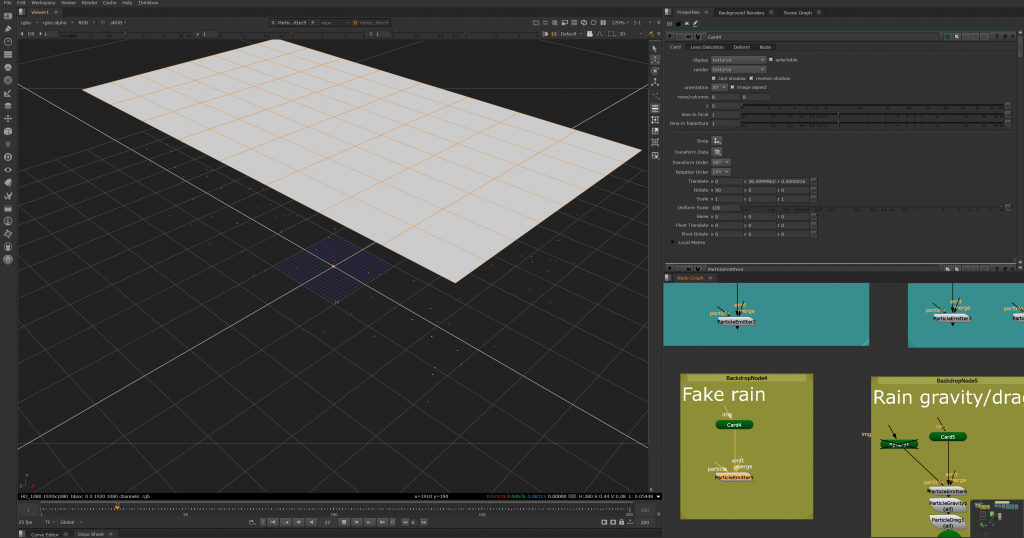
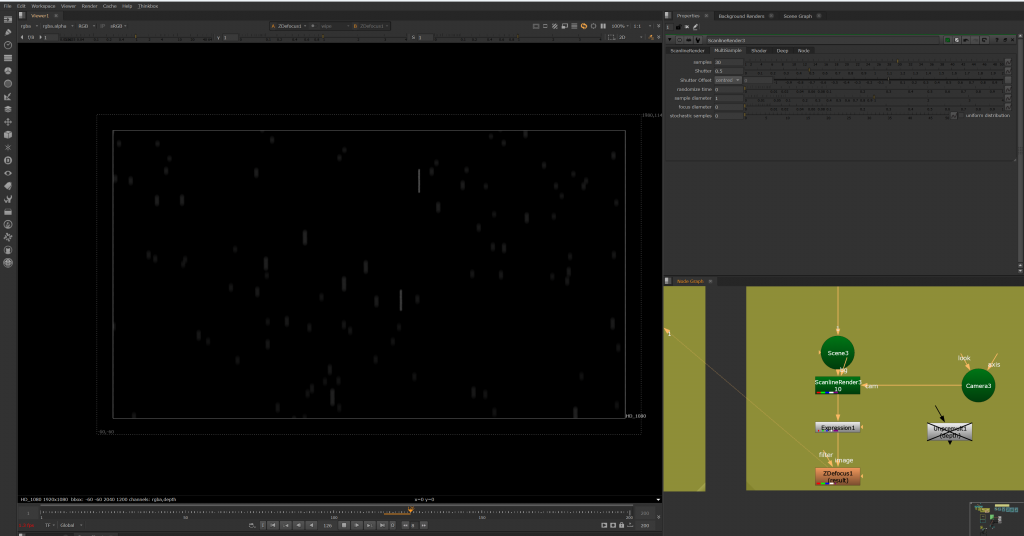
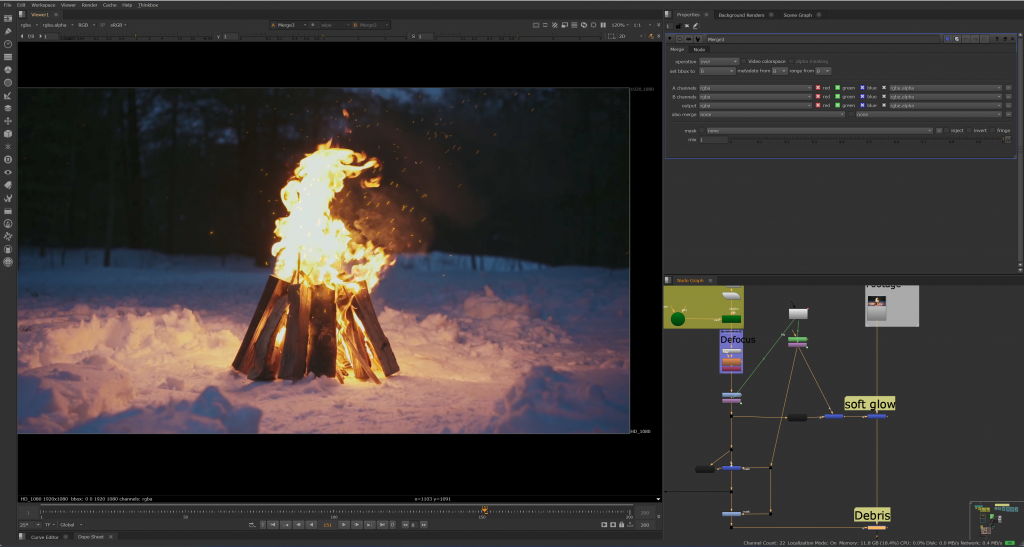
In class, we learned some techniques for using nodes such as Card and ScanlineRender.
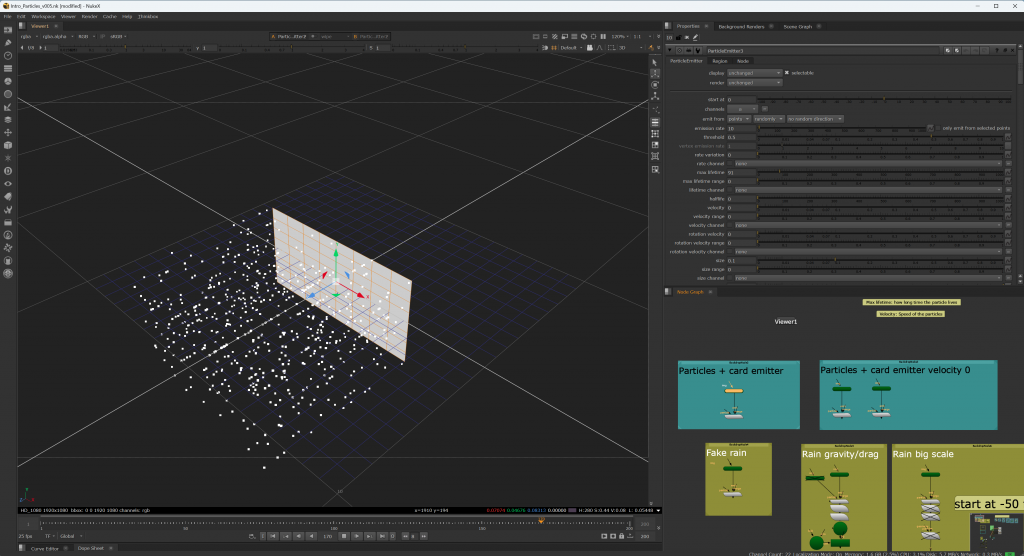
These nodes can be used to create effects like rain and firelight, demonstrating more possibilities for adding visual effects in post-production.
Group work
Reference

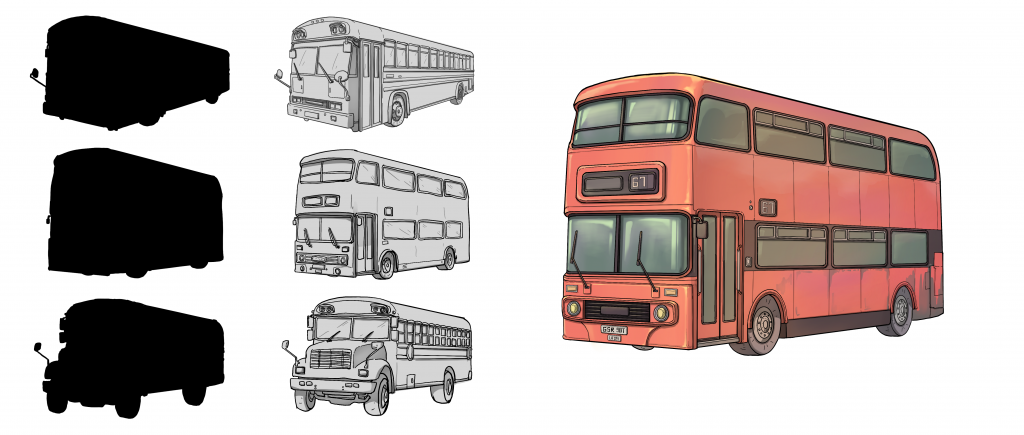
Bus 2D My Design Paint