Research on Rigging
1.1 Skeleton Construction
First, in Blender, I needed to build a skeletal structure that matched the mechanical design of the model.
In Edit Mode, I pressed Shift + A to create a new armature, and then used E to extrude new bones. Using this method, I constructed the corresponding skeletal structure for the model.
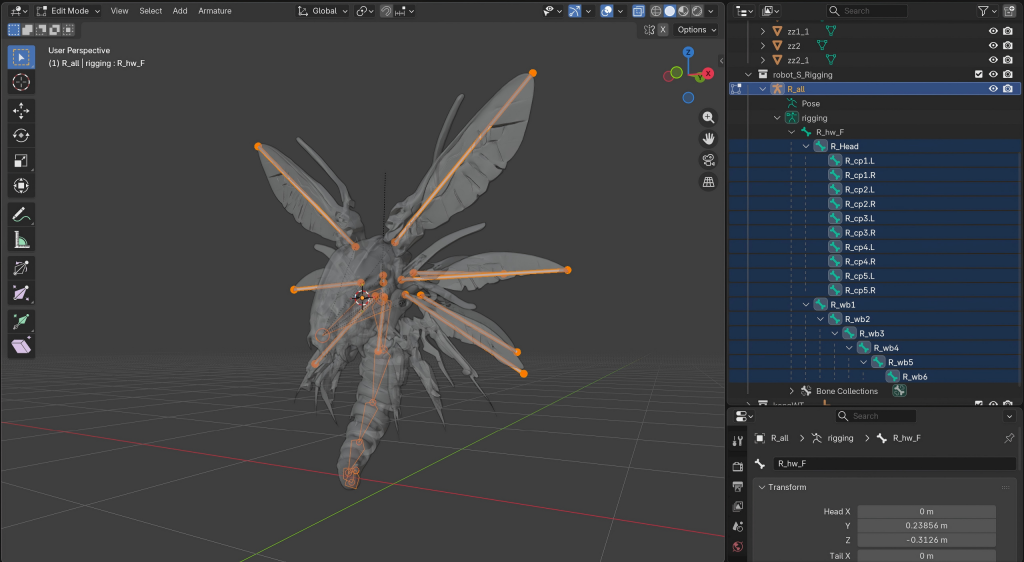
It is worth mentioning that Blender allows us to customize bone shapes. We can assign custom objects to bones and change their appearance to various shapes, such as cubes, spheres, rings, and more.
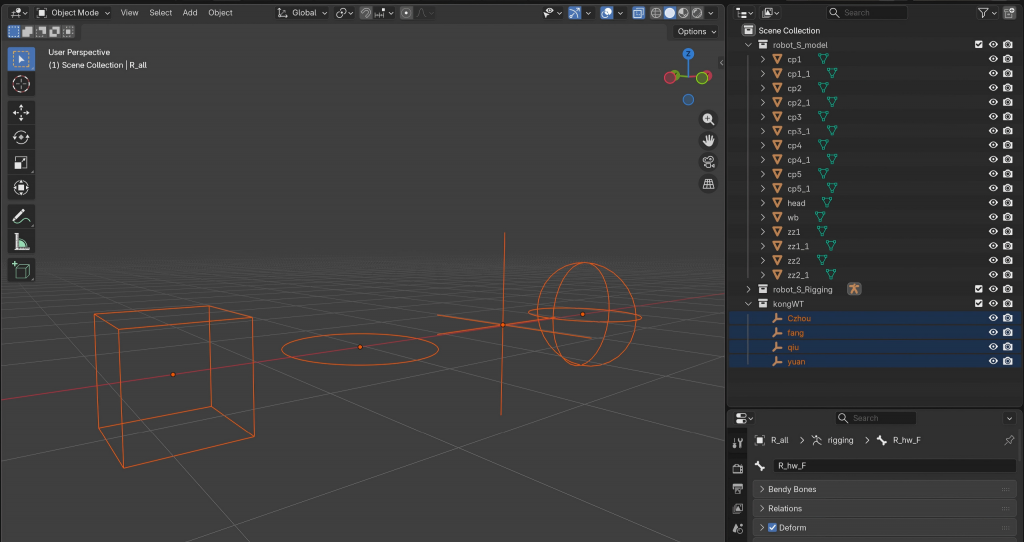
After completing the skeleton, I used the mechanical creature’s head as the main parent bone and made the wings and legs child objects of the head. This hierarchy allows movement of the head to influence all other connected parts.
1.2 Inverse Kinematics (IK)
In Pose Mode, I selected the lowest bone of the leg and added an Inverse Kinematics (IK) constraint. I then set the Chain Length value to 2, since each leg consists of three bone segments.
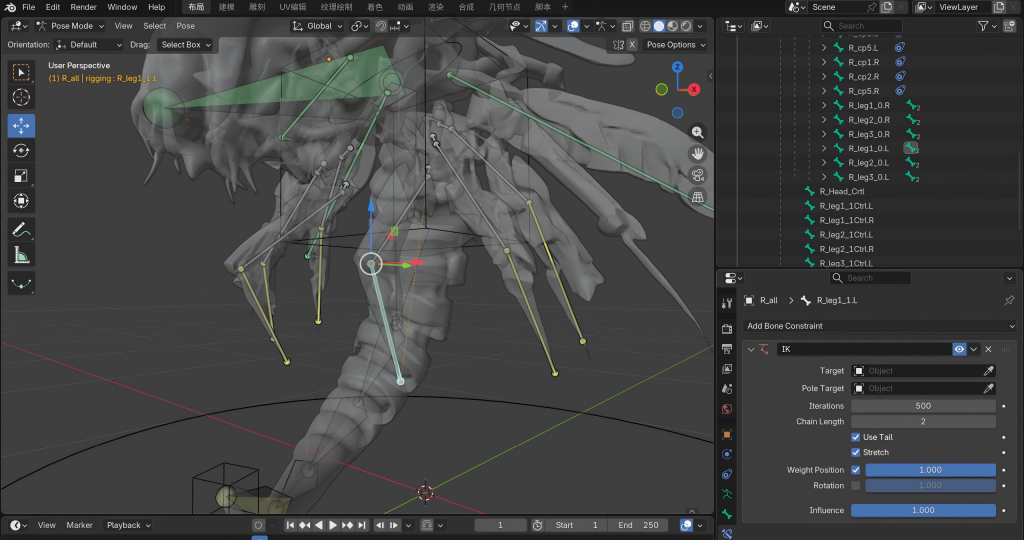
This allows movement of the bottom leg controller to drive the entire mechanical leg chain automatically.
Finally, I created a master control bone and parented all controller bones to it. With this setup, the skeletal rig was fully completed.
2.Binding the Skeleton to the Model
Leg Rigging
In Object Mode, I first selected the armature and then the model. After switching to Pose Mode, I set the parent relationship using Parent with Automatic Weights. This allowed the model to deform and move correctly when manipulating the leg controllers.
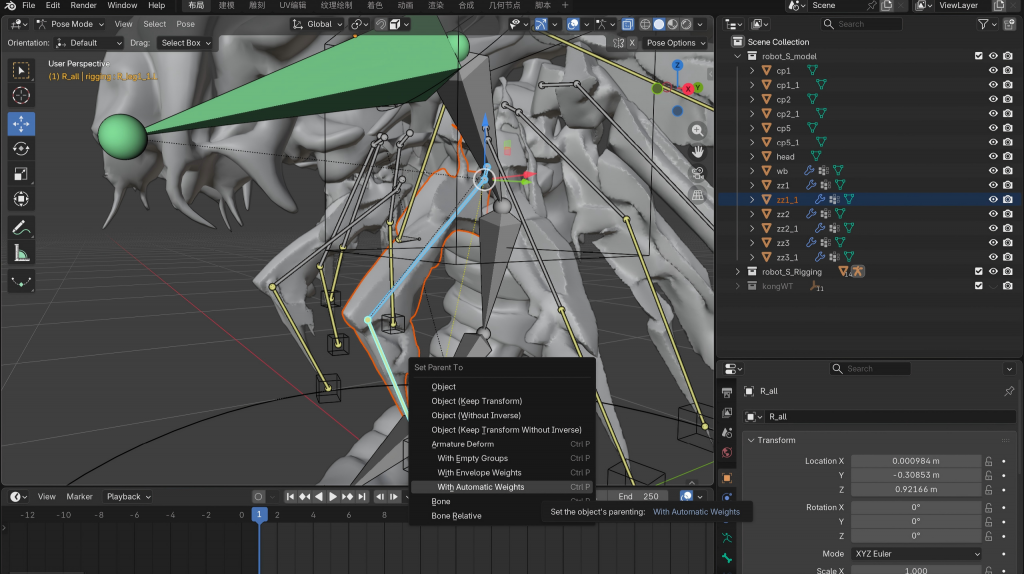
It is important to note that AI-generated models often contain split or disconnected faces. Before assigning weights, these vertices must be merged in Edit Mode. Otherwise, the mesh may crack or separate during deformation.
Cracked Model
Repaired Model
Animation Production – Looping Animation
I created keyframe animations for the mechanical creature’s wings and then applied a Function Modifier to make the motion repeat automatically. This resulted in a continuous wing-flapping animation.
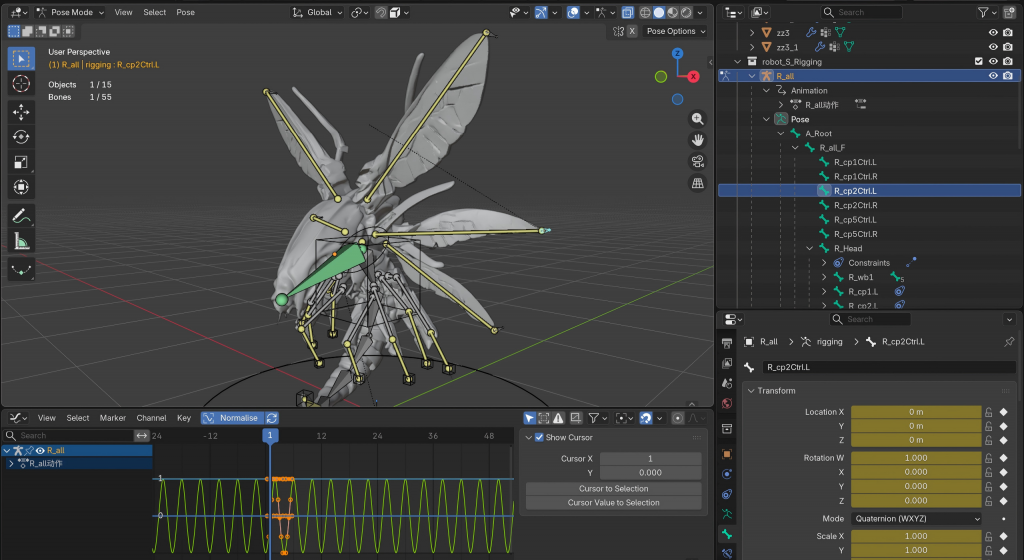
Using the same approach, I also created an idle animation for the mechanical creature.
UE5
During the course, we gained an in-depth understanding of Ray Tracing and Path Tracing technologies in UE5 (Unreal Engine 5), including their fundamental principles, implementation methods, and practical applications in real-world projects. Through lectures and case demonstrations, we learned that ray tracing can more accurately simulate reflections, refractions, and shadows in a scene, thereby enhancing the realism and immersion of rendered images. Path tracing, on the other hand, uses extensive light path sampling and calculations to achieve near-cinematic global illumination, resulting in more natural and detailed lighting and shadow effects.
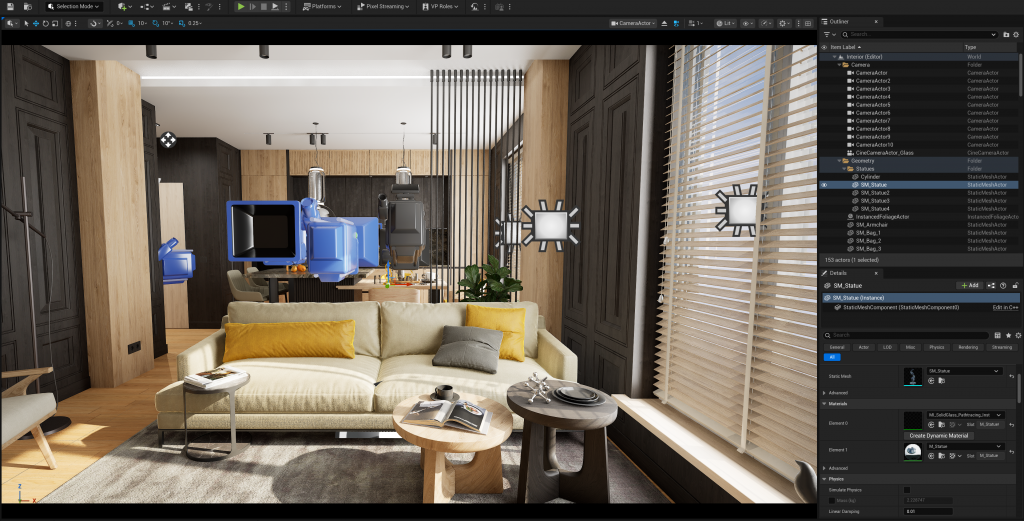
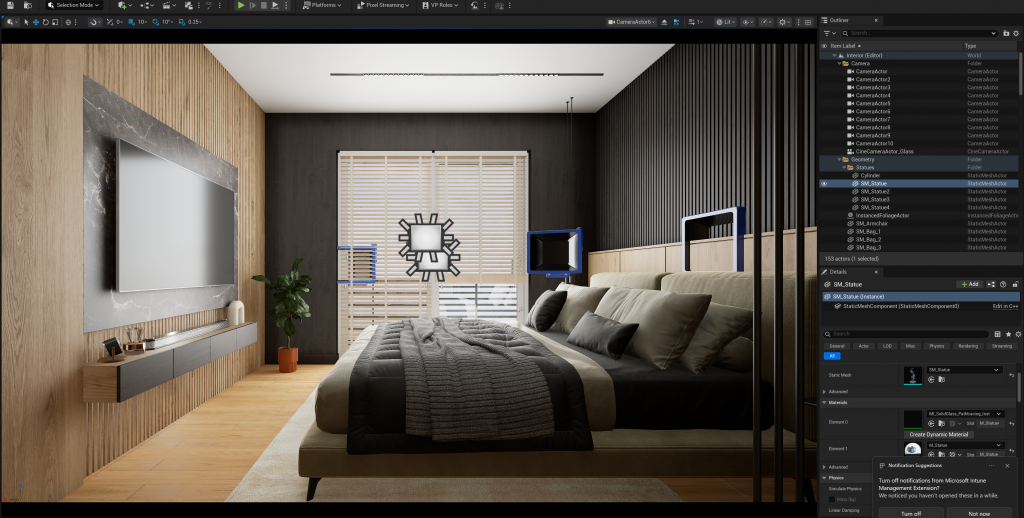
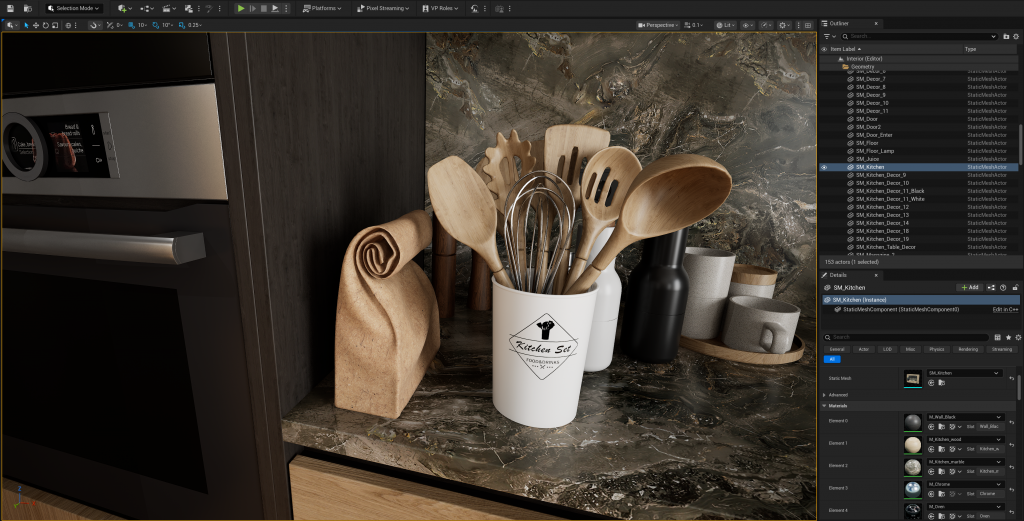
In the practical sessions, we observed and compared these technologies within specific scenes by adjusting parameters and rendering settings, allowing us to directly experience their impact on visual quality. For example, in areas such as metallic reflections, glass refractions, environmental lighting, and shadow details, both ray tracing and path tracing demonstrated a level of realism that is difficult to achieve with traditional rendering methods. Through these scene-based demonstrations, we not only strengthened our understanding of the underlying theories but also gained a deeper appreciation of the importance of advanced rendering technologies in fields such as game development, film production, and virtual reality.
Leave a Reply